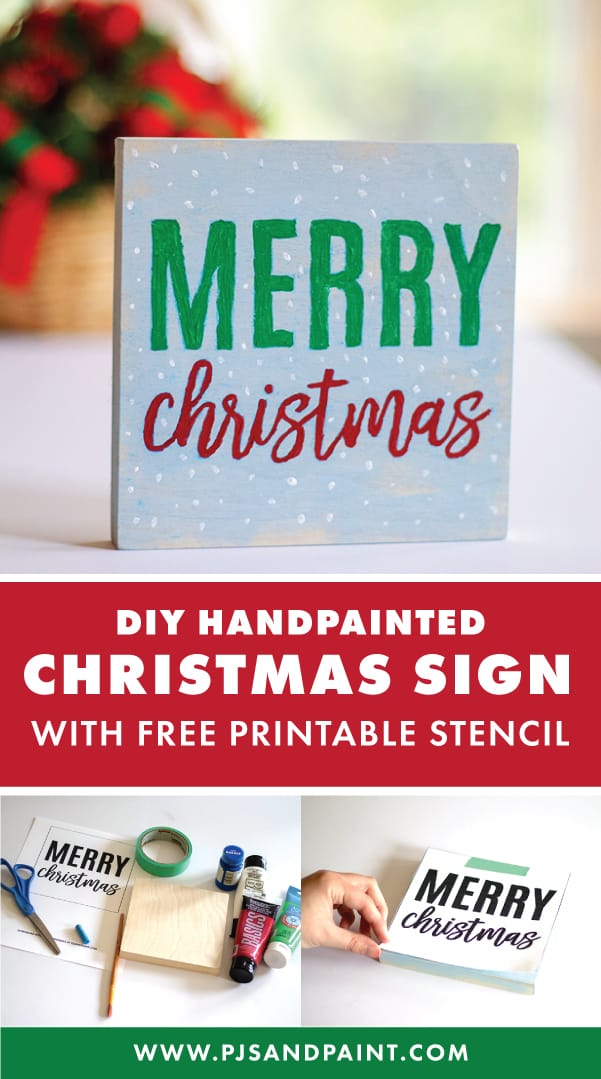
I just love handpainted signs, especially around the holidays. Today, I wanted to share this easy DIY handpainted Christmas sign. I’ve included a free printable stencil so no lettering skills are necessary!

Disclaimer: This post contains Amazon affiliate links. This means that at no extra cost to you, I may earn a small commission if you decide to make a purchase.
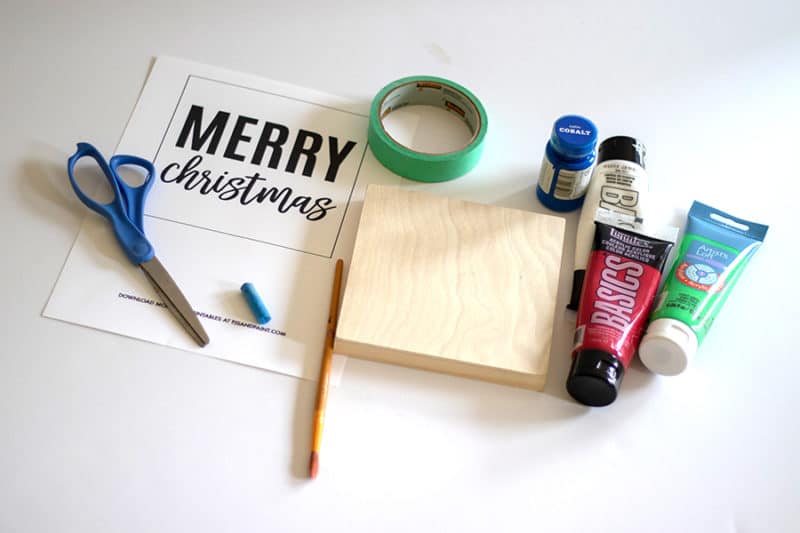
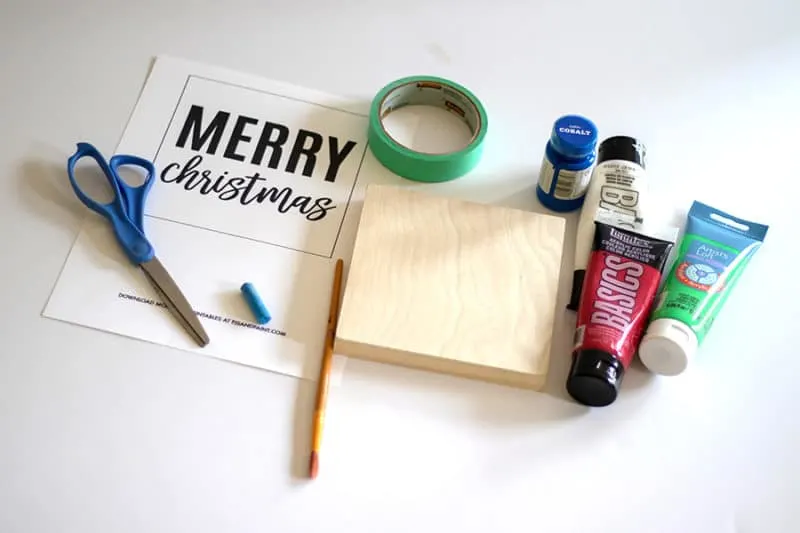
Supplies needed to create this DIY handpainted Christmas sign:
- 6 inch wood block or panel (These are the ones I used here).
- Blue, white, red and green acrylic paint
- Paintbrushes
- Scissors
- Tape
- Chalk
- Free printable Merry Christmas stencil
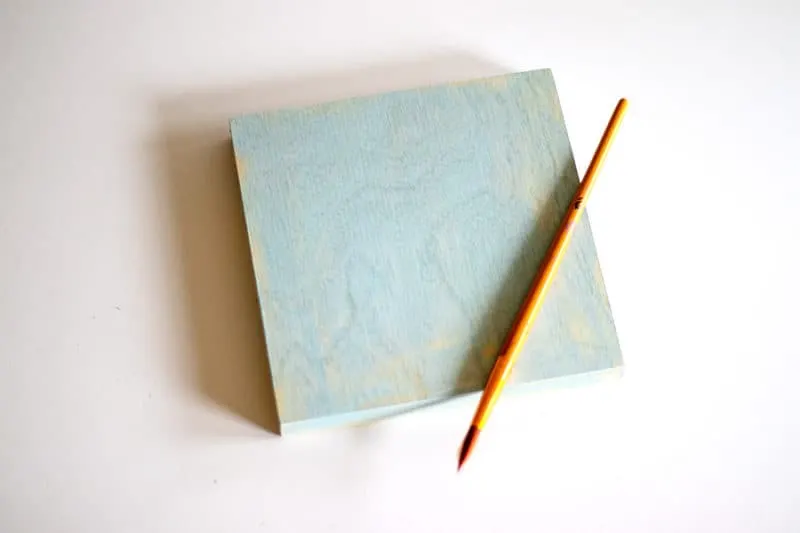
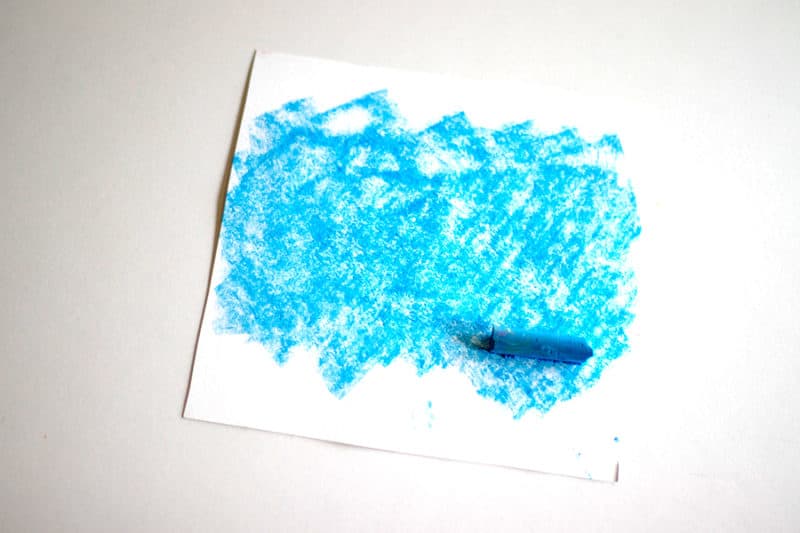
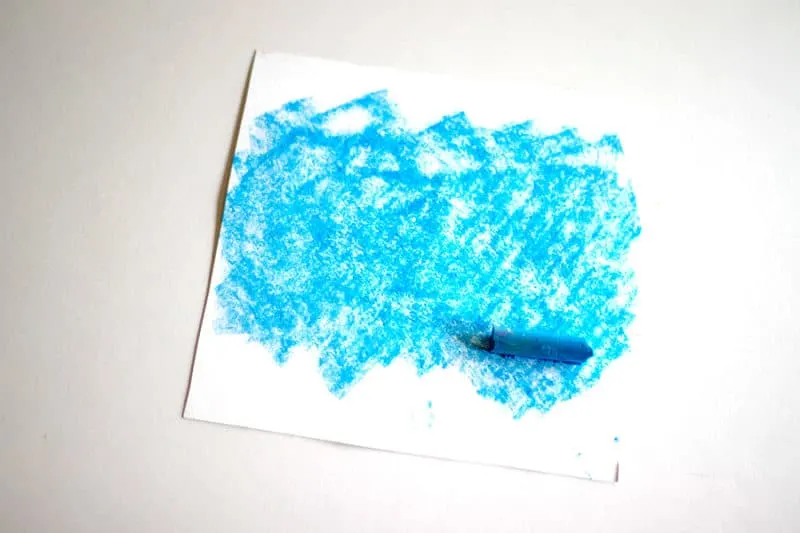
The first step is to paint the wood block a light blue color. I achieved this shade by mixing white with a tiny bit of blue acrylic paint.
I was going for more of a rustic, washed out look so I only lightly painted the wood block so that some of the wood grain would show through.

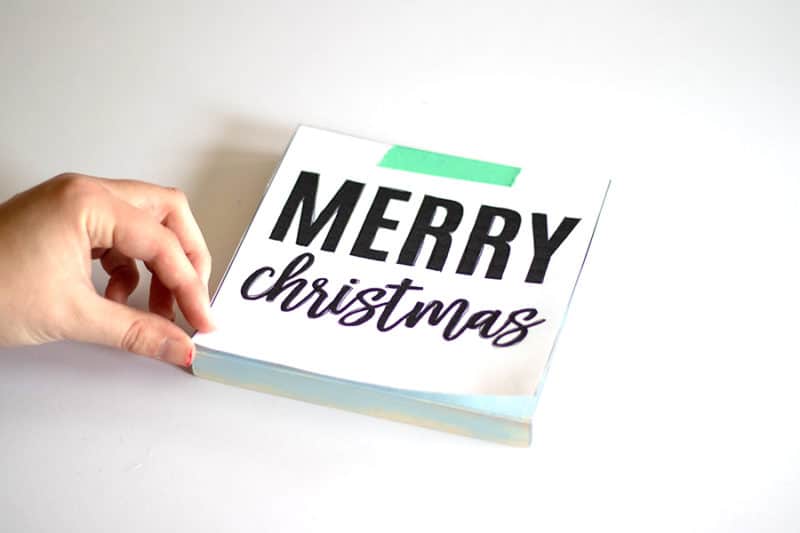
While you’re waiting for the paint to dry, print out the free printable Merry Christmas stencil here. (The stencil measures 6 inches wide) Trim the excess paper. I use this paper cutter for my projects.
Turn the paper over and rub chalk on the entire backside. Make sure to use a color that is dark enough to stand out on your wood block.
Carefully turn the piece of paper over and place on top of the wood block. Use some masking tape at the top to hold in place.
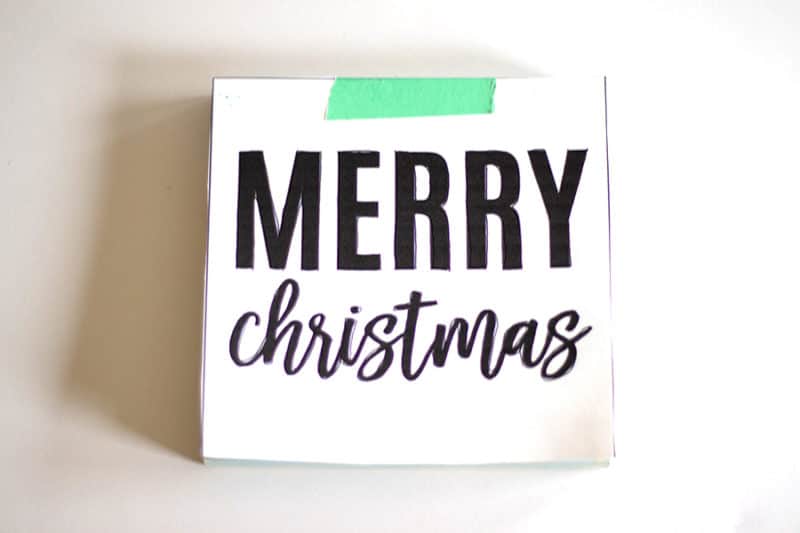
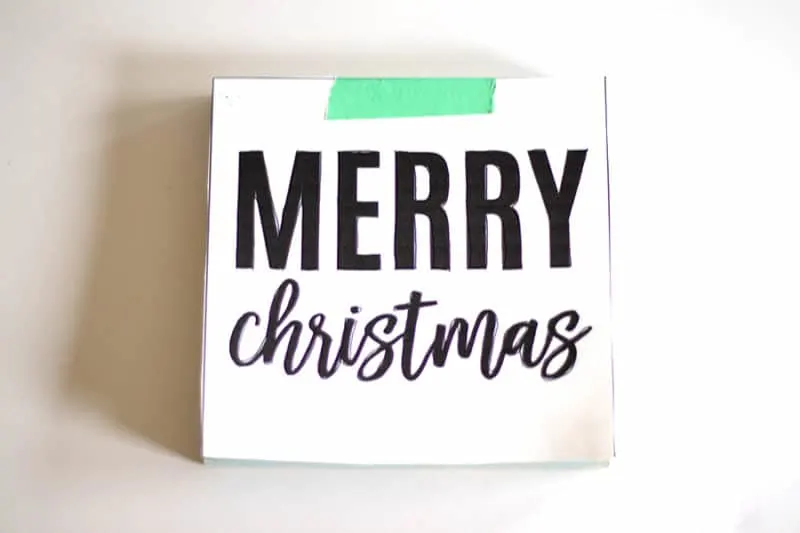
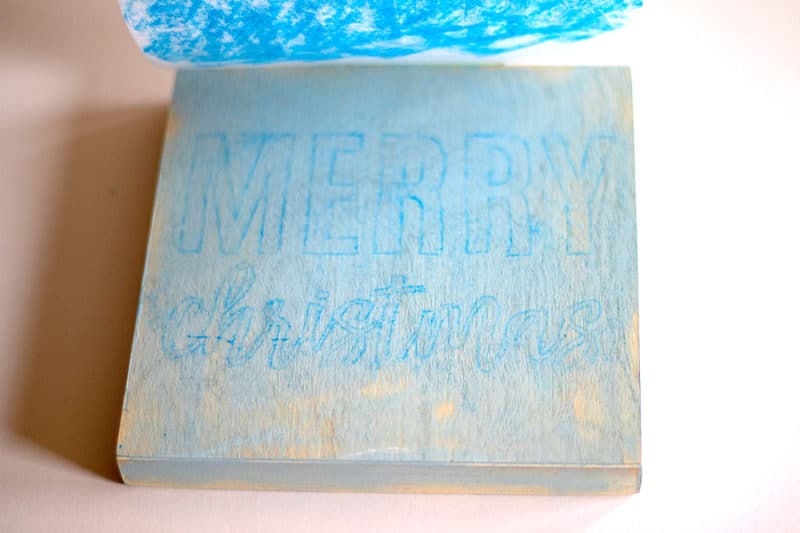
Next, using a pen or sharp pencil, trace the letters. Take a peek before you get too far to make sure that the chalk is transferring.

If done correctly, it should look something like the photo below. It’s totally okay if the lettering doesn’t look too dark or have perfect lines, you can clean it up when you’re filling in with paint.

Using red and green paint, carefully fill in each letter and watch your DIY handpainted Christmas sign come to life!
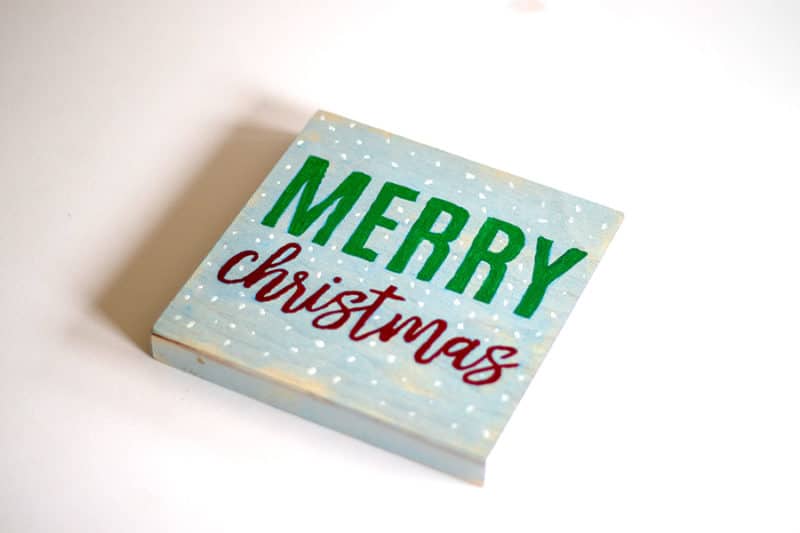

Afterwards, I also went back in with some white paint to create small snowflakes in the background.


Display your sign as decor in your home, or give as a gift!
Merry Christmas!
shelly peterson
Saturday 9th of November 2019
What a neat idea. I like how easy this is.
Alice
Friday 25th of October 2019
Thanks for sharing this easy diy project! I'm going to try cutting out the stencil using my cricut.
Kelly
Friday 25th of October 2019
No problem! I'm sure it would look great with a Cricut cut stencil! I'd love to see how it comes out!