


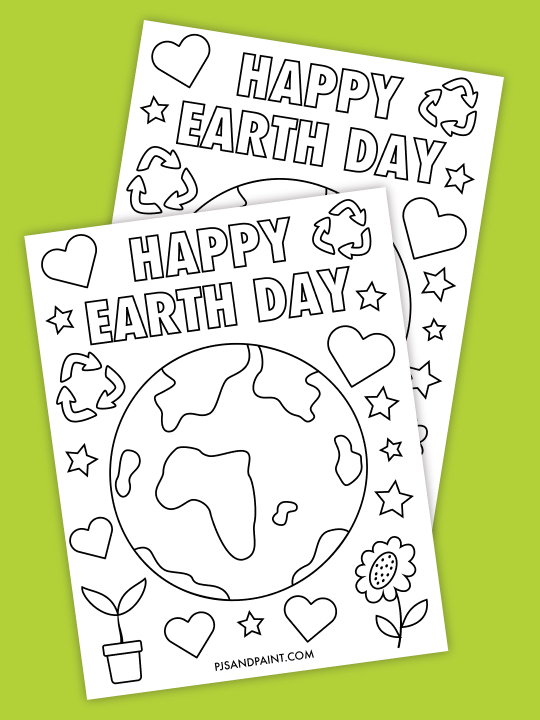
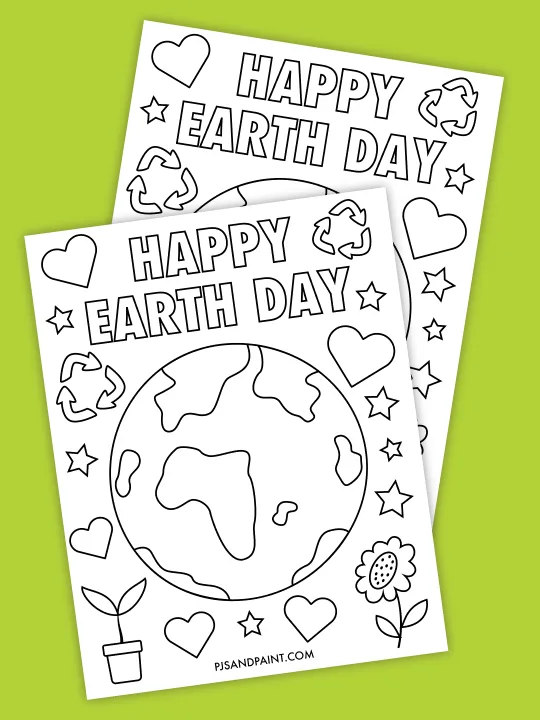
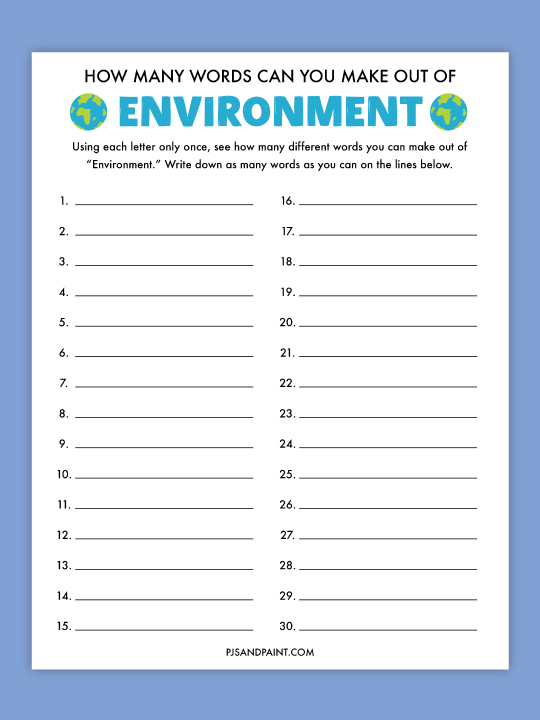
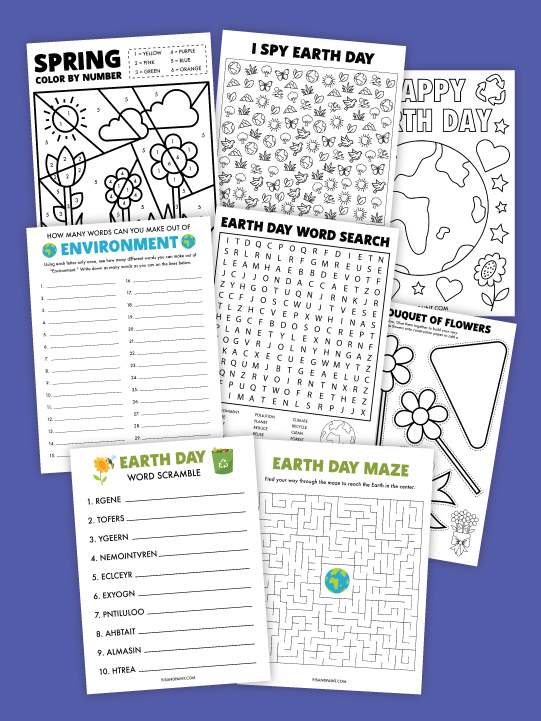
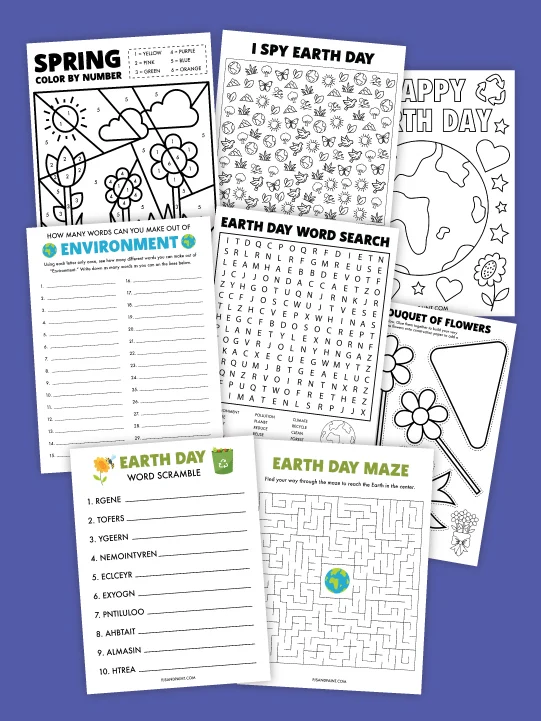
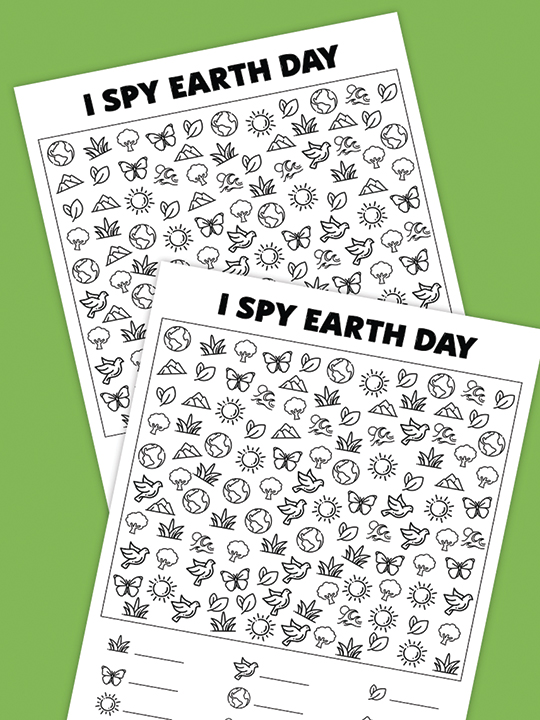
Earth Day
Fun free printable games and activities to celebrate our planet!


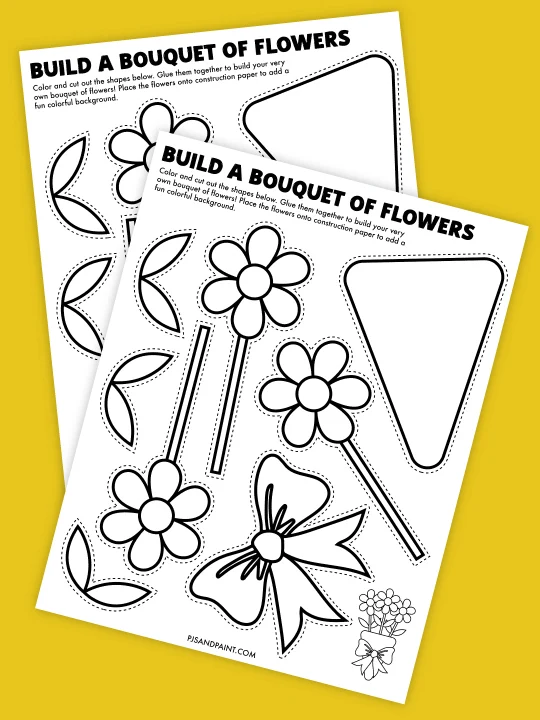
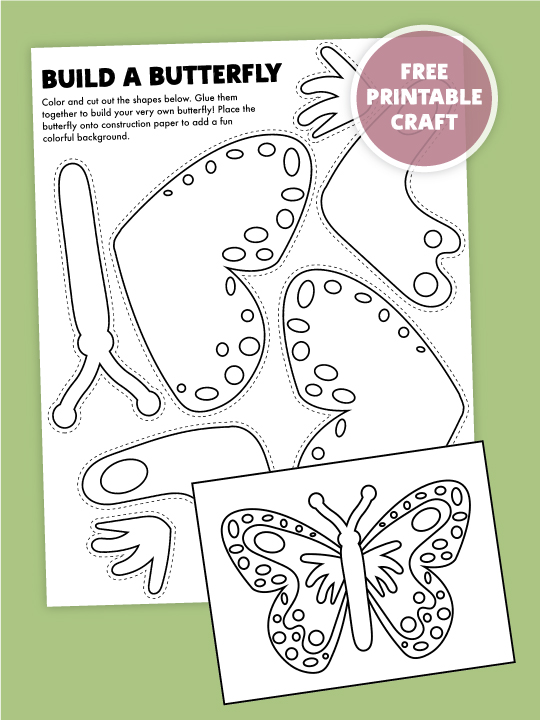
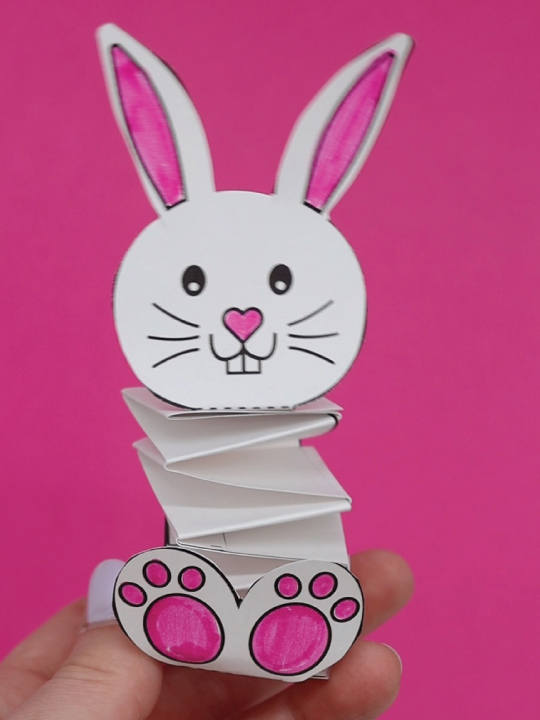
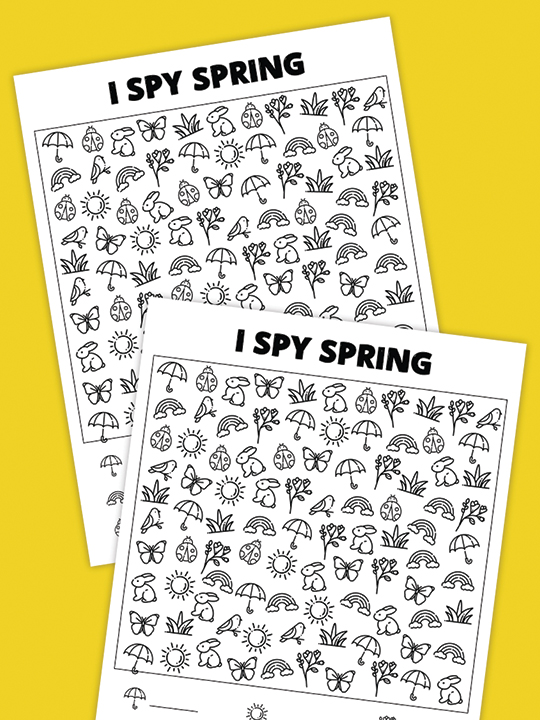
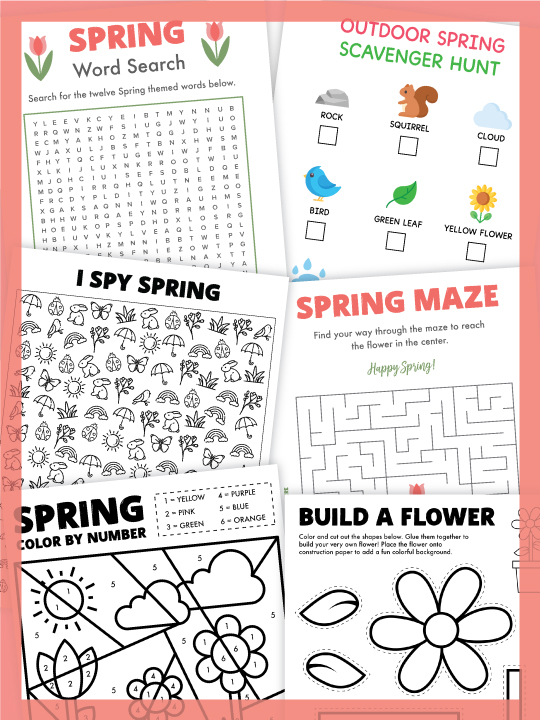
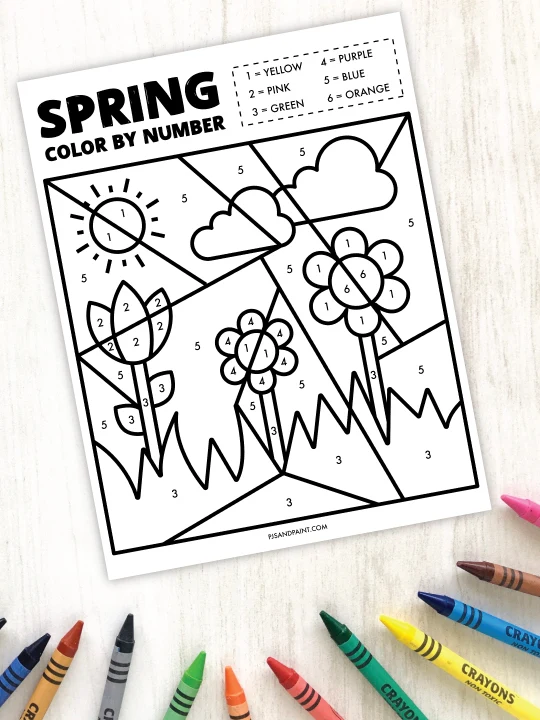
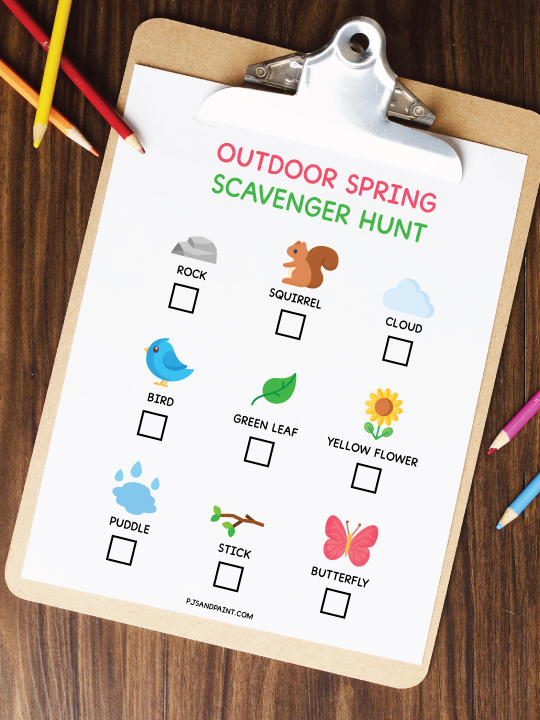
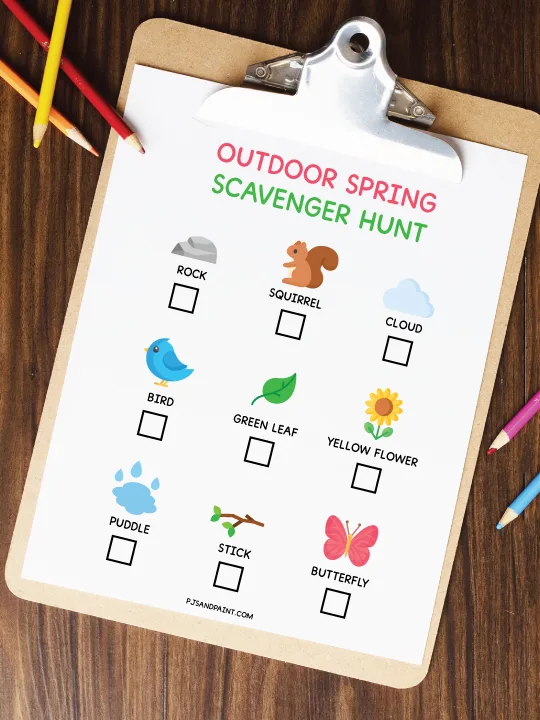
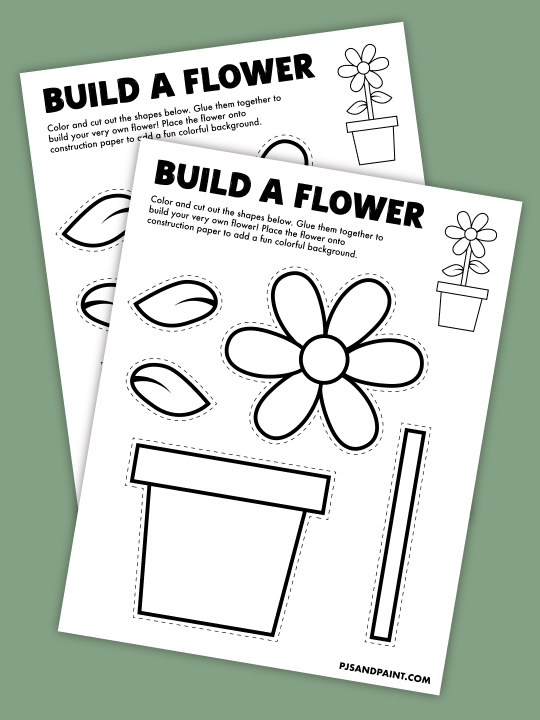
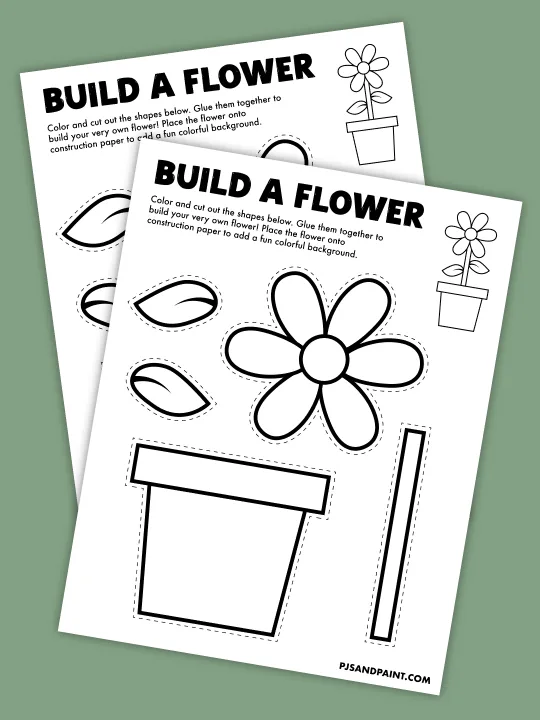
Spring
All things Spring! Fun craft tutorials and printables perfect for getting everyone ready for the wam and sunny season!


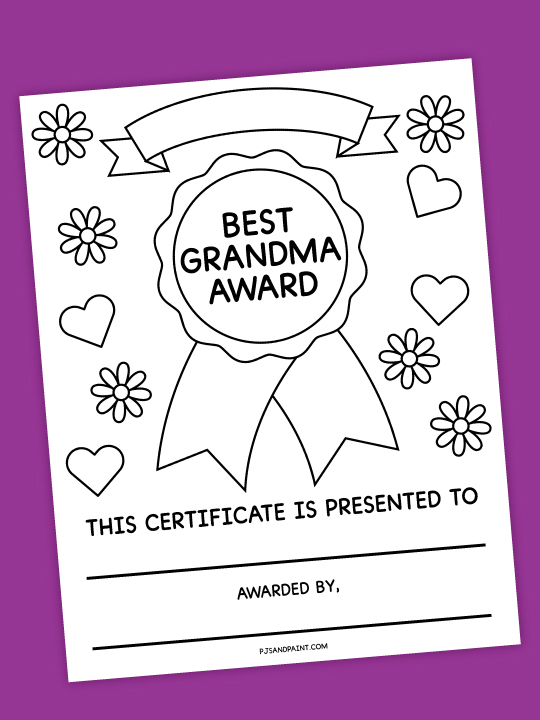
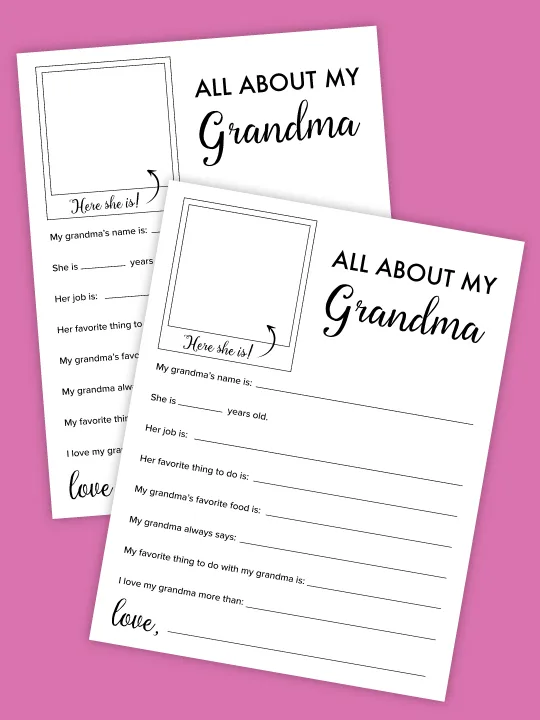
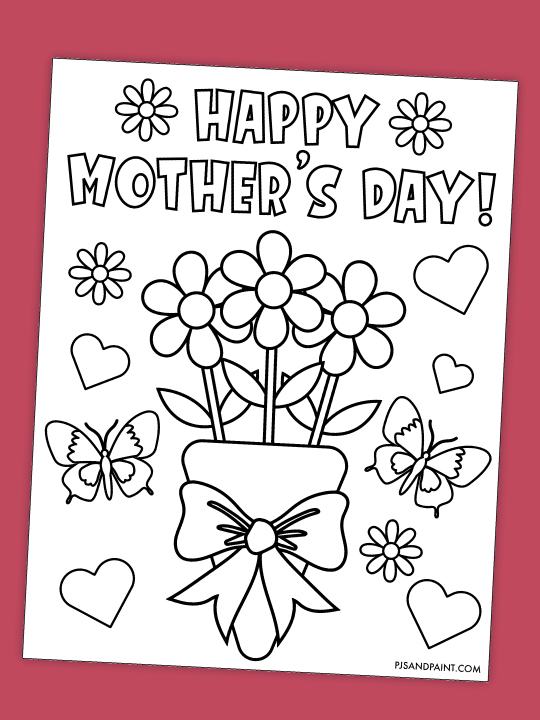
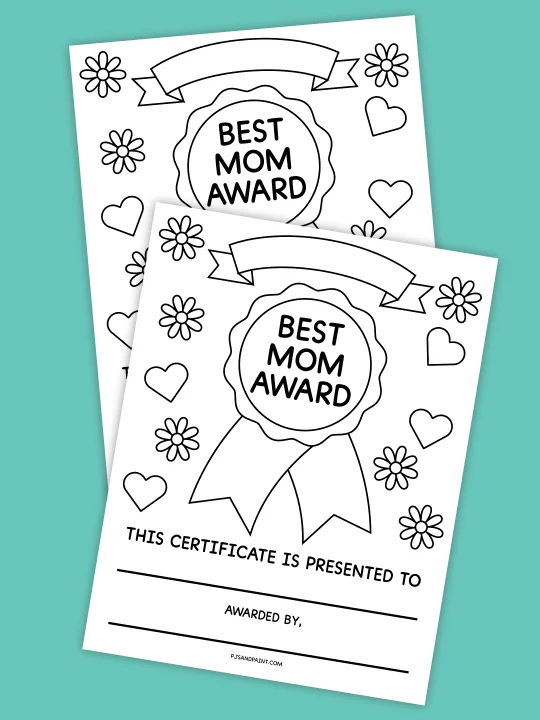
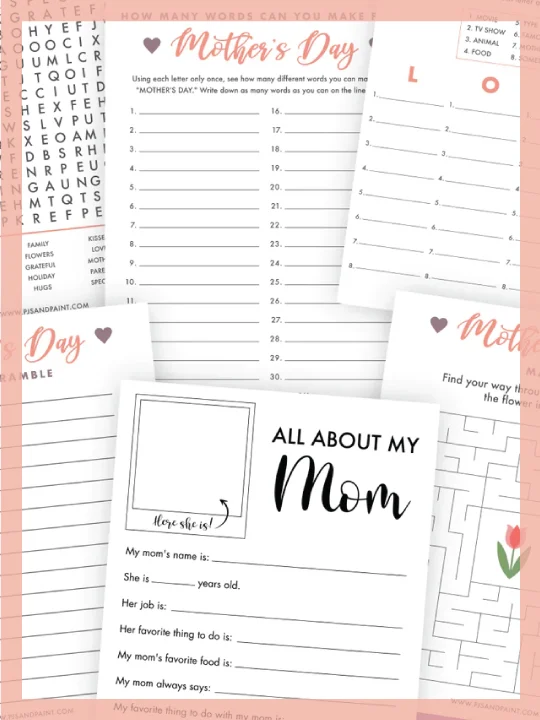
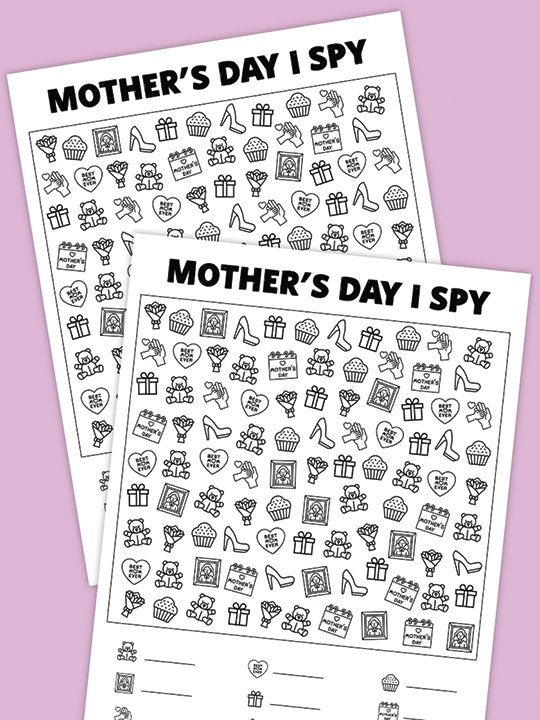
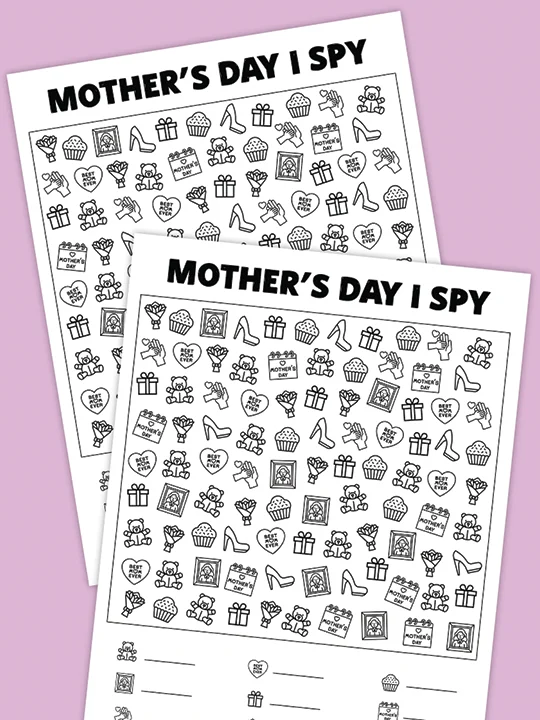
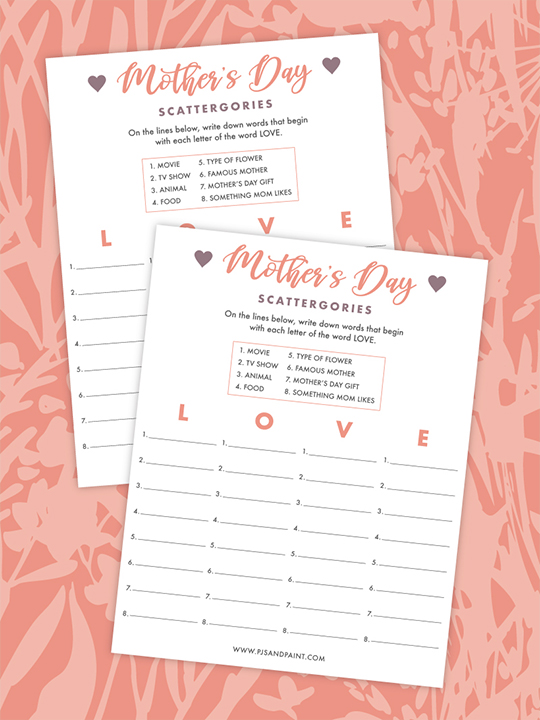
Mother’s Day
All things Mother’s Day! Free printable games and activities, easy to follow craft tutorials and DIY decoration ideas.


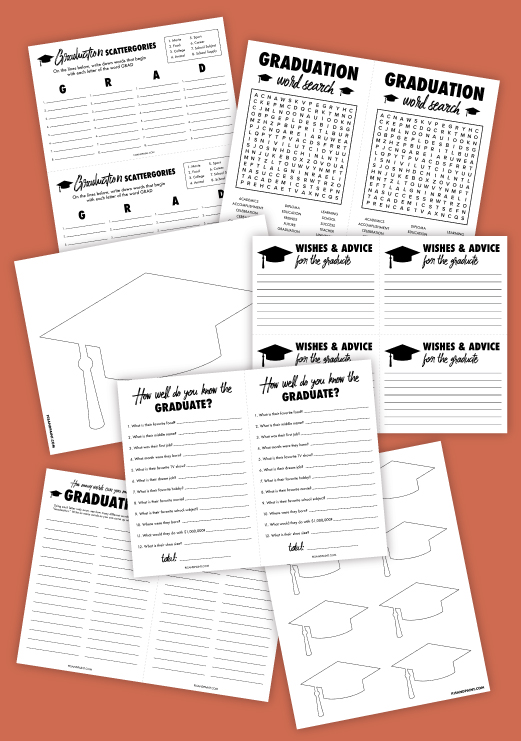
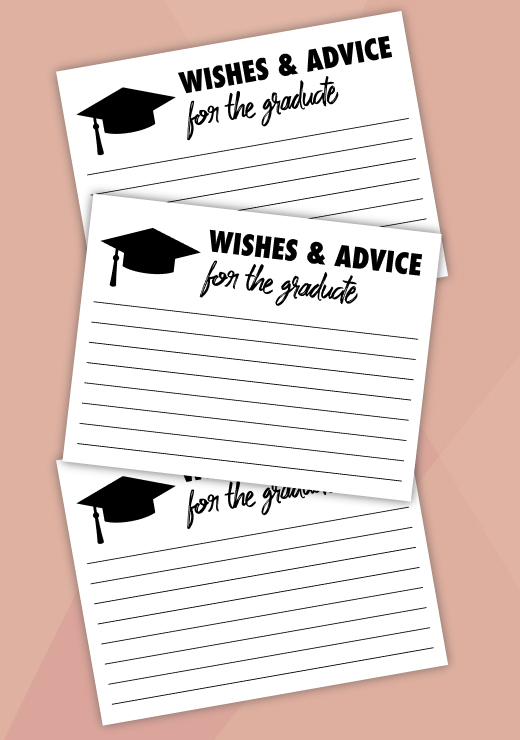
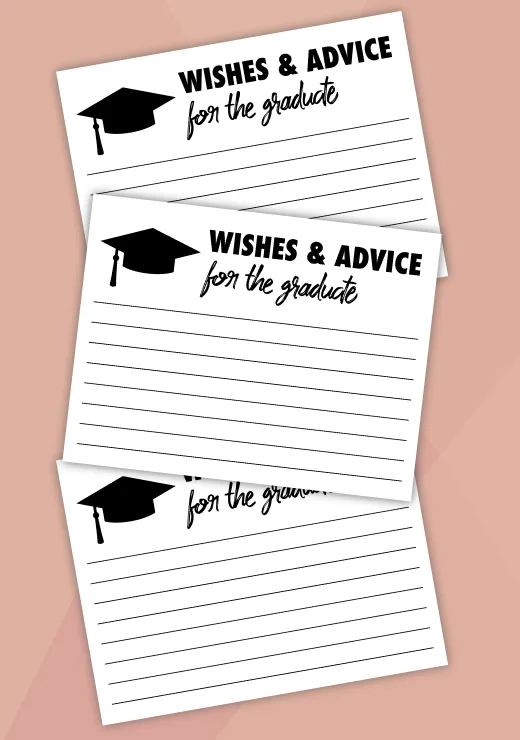
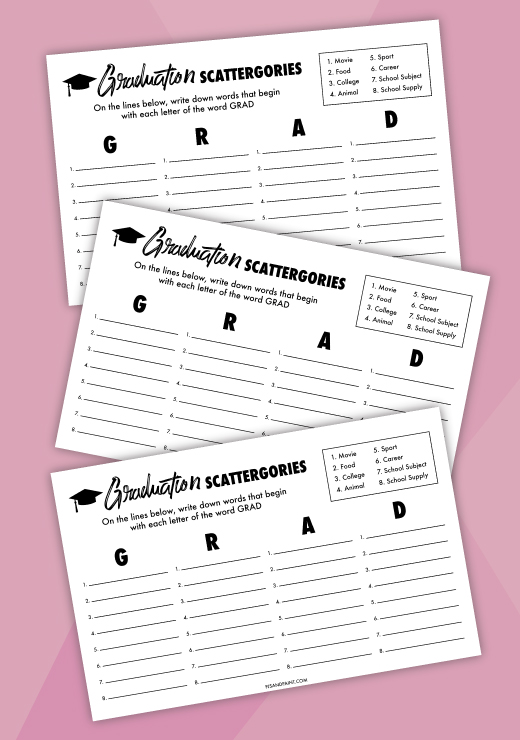
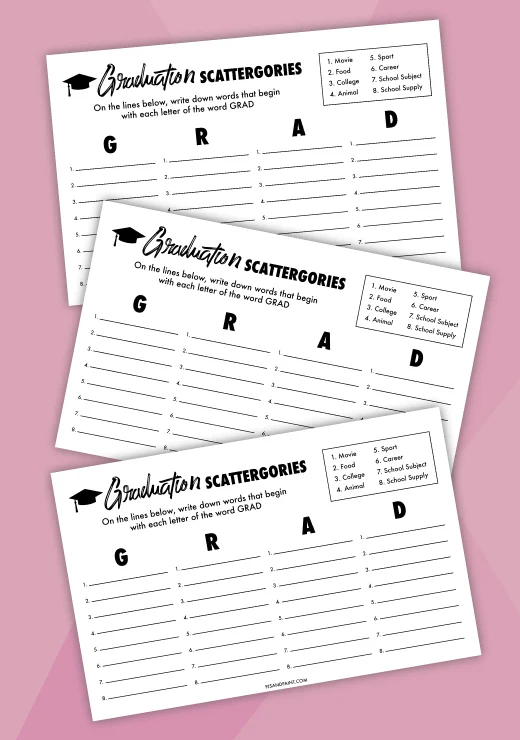
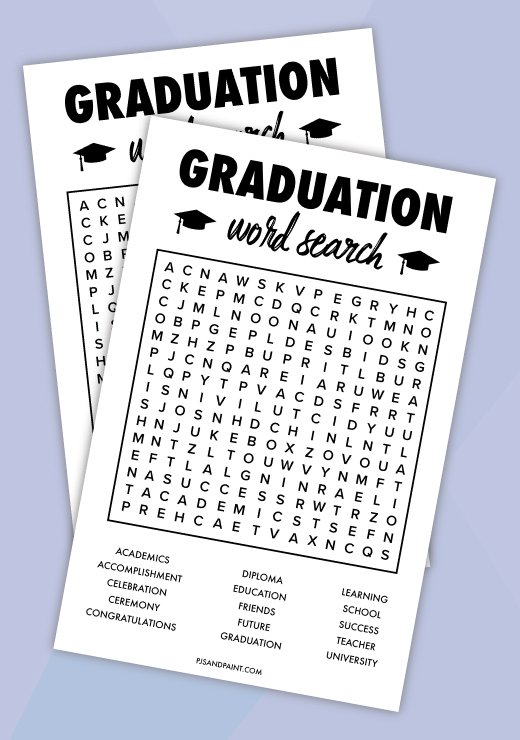
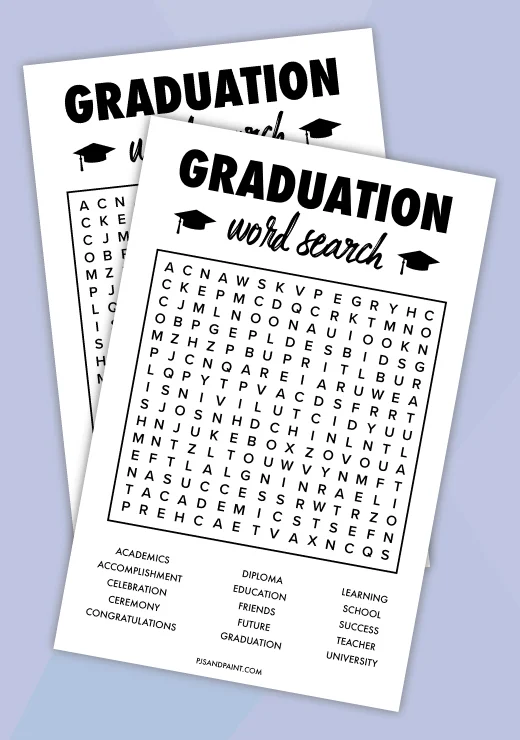
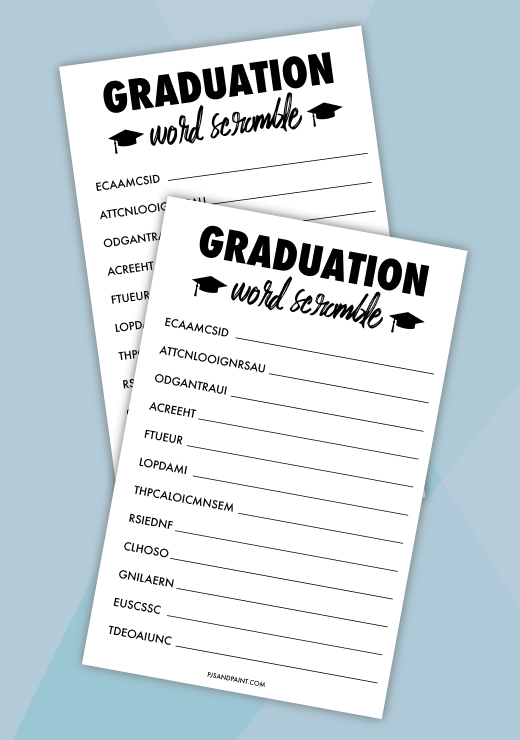
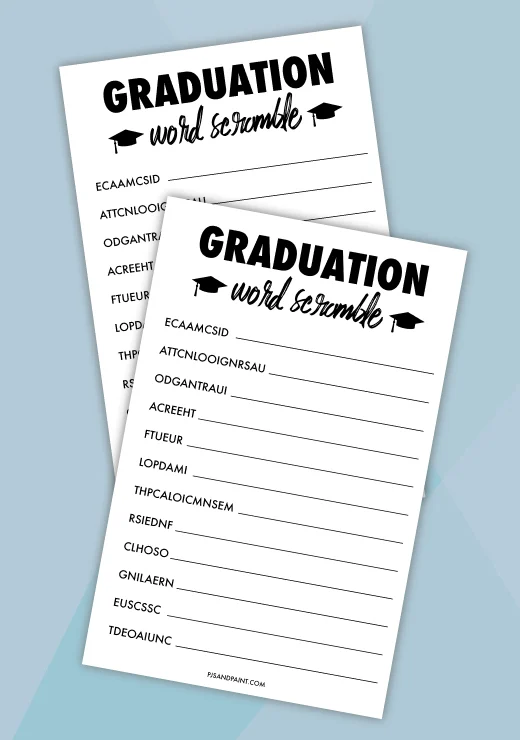
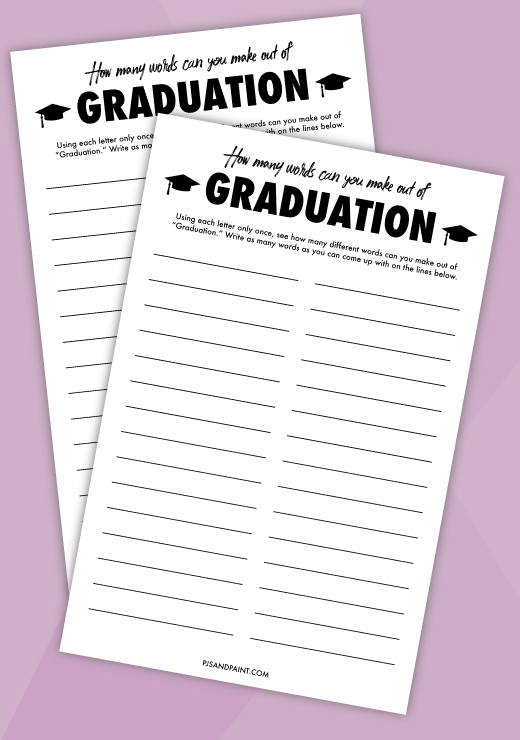
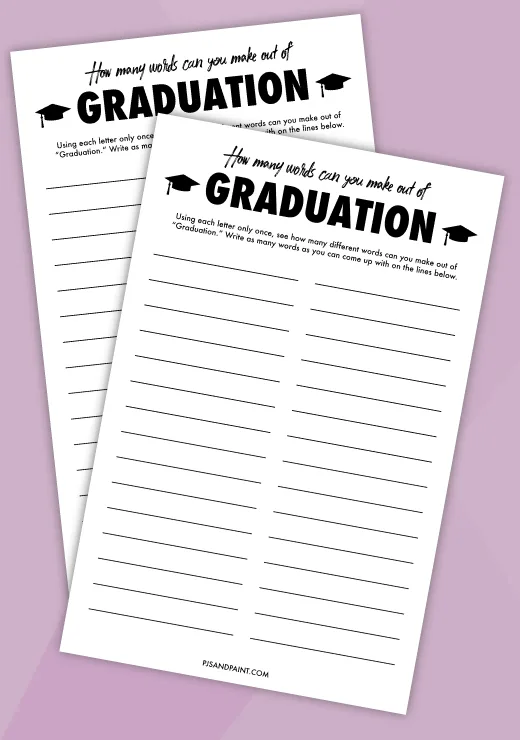
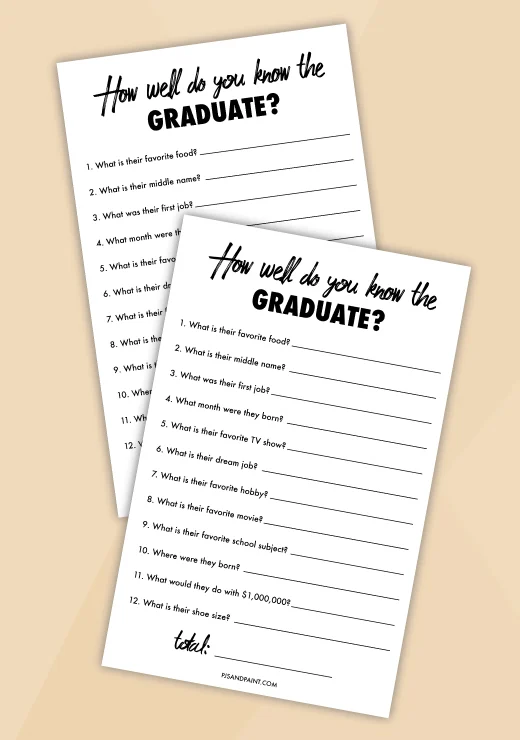
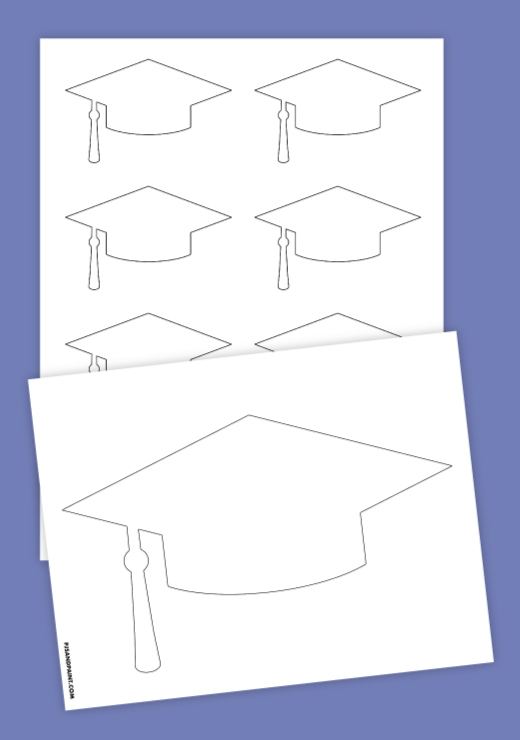
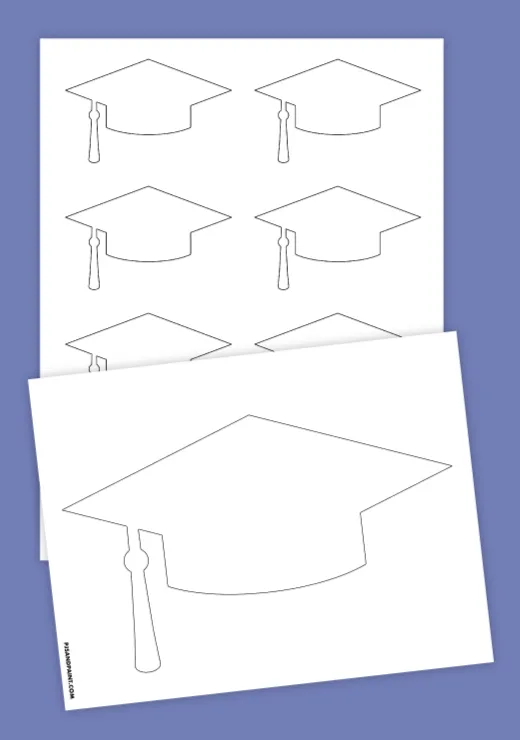
Graduation
All things Graduation! Free printable games and activities, decoration ideas and more!


Popular Categories
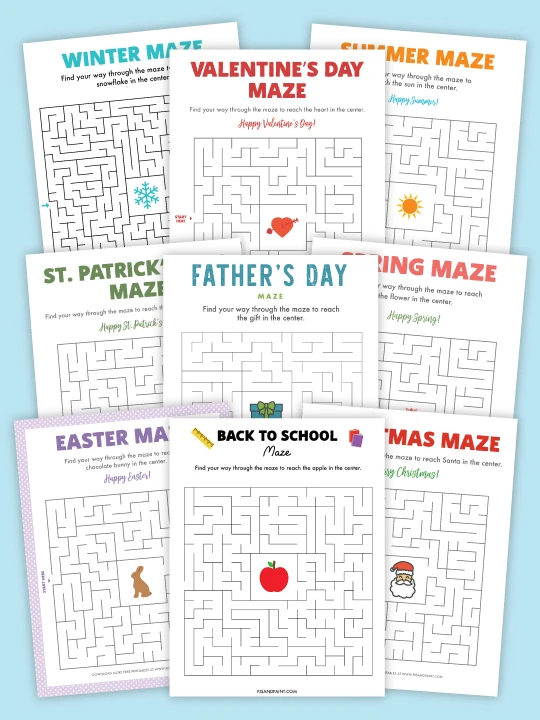
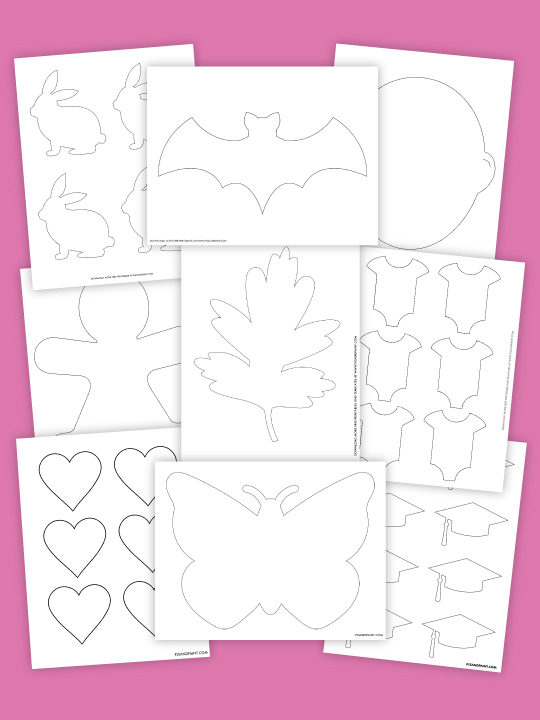
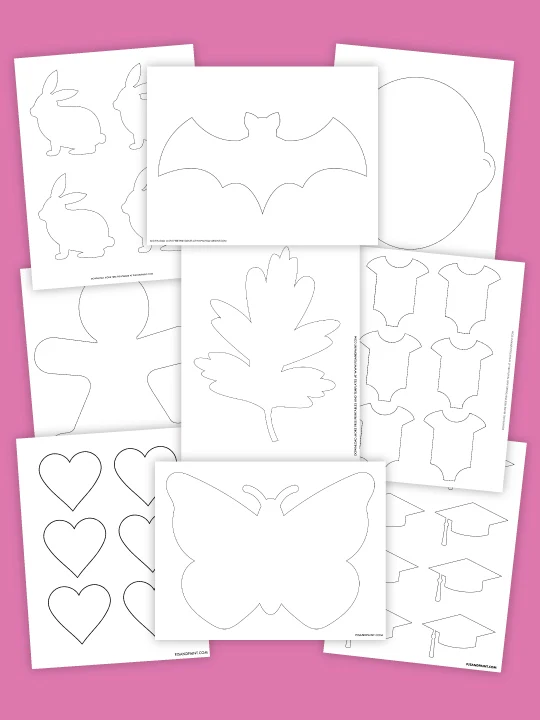
Roundups of our most popular free printable games and activities.