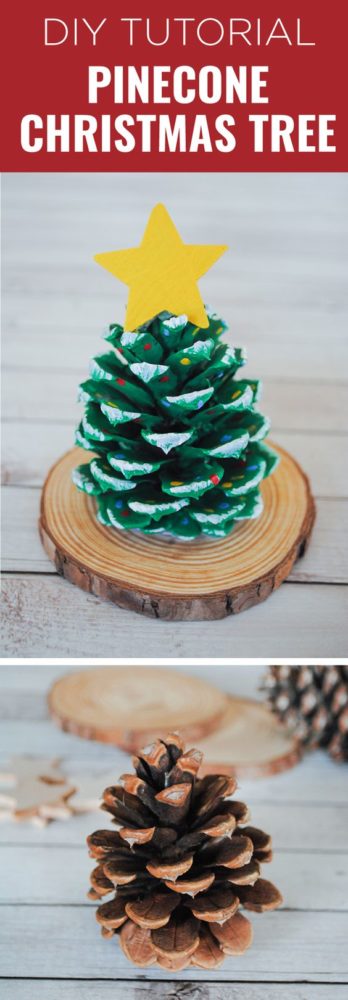
Today’s craft tutorial is this adorable pinecone Christmas tree! It is super easy to make and looks really great sitting on a side table or on a mantle. I made a ton of these cute decorations to display around my house this holiday season.
As much as I love the holiday season, I have never been too into decorating. Don’t get me wrong, I absolutely love Christmas decorations, especially twinkly little string lights! However, the thought of putting away tons of decorations in my house after they are only displayed for a few short weeks, usually stops me from going too hard core on the Christmas decor. But, that stops now!
When it was just my husband and I in the house, we could get away with being a little lazy and skipping the holiday decorating. Of course we always had a Christmas tree in the house but sometimes we would wait until the week before to get it decorated.
But now that we have our son, Christmastime just seems so much more special. We want him to have that same magical feeling we did as we were growing up. Because of that, I’ve been trying to not only decorate more, but come up with some craft ideas that for now I can do on my own, but in the future when he is a bit older, we can do together. I’d love to create those special memories crafting around the holidays and having his creations displayed all throughout the house.
Today I wanted to share with you this super easy pinecone Christmas Tree craft. It is easy enough for kids to do, while still being fun for all the adults involved.

Disclaimer: As an Amazon Influencer, I earn from qualifying purchases. This means that at no additional cost to you, I may earn a small commission if you decide to make a purchase. For more information, please feel free to read the affiliate disclosure on our privacy policy page.


Supplies needed to make a pinecone Christmas tree:
- Pinecones
- Wood slices
- Wooden stars
- Acrylic Paint (Green, White, Red, Yellow, Blue)
- Paintbrushes
- Hot Glue Gun
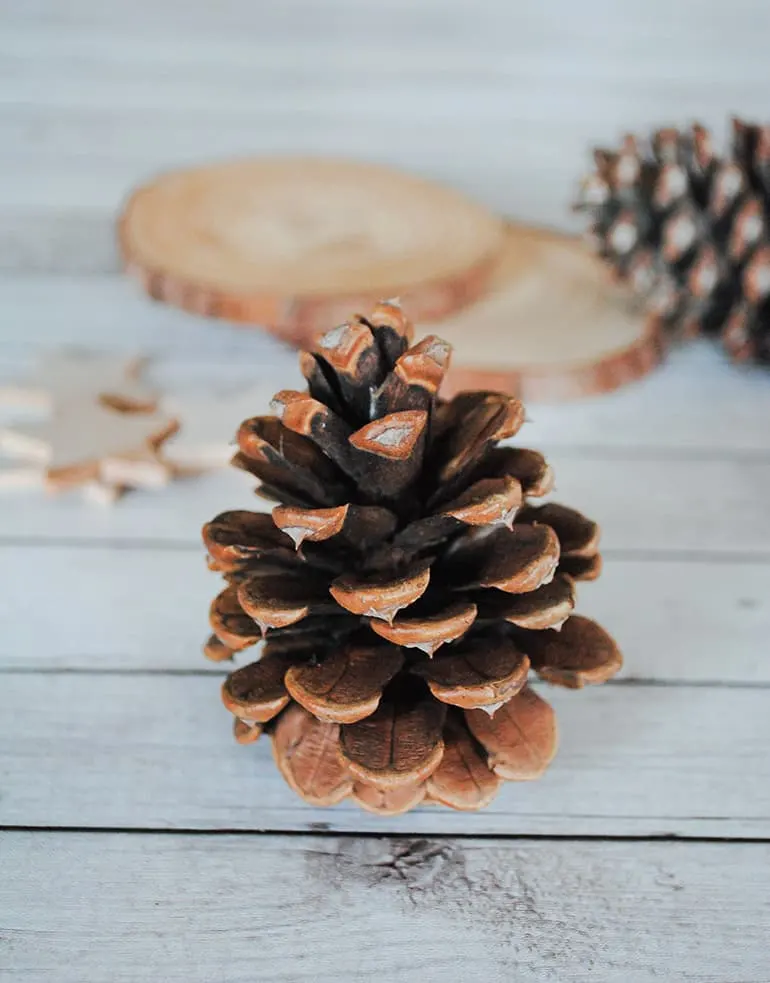
The best part about this craft is that the main supply is probably already sitting right outside your front door. Pinecones are lying all around this time of year and are absolutely perfect for so many holiday themed projects.
However, at the time I was working on this blog post, there weren’t too many pinecones around my house. And so that is where Amazon came in. Who knew you could buy a bag of real pinecones? Click here to view the ones I had purchased.

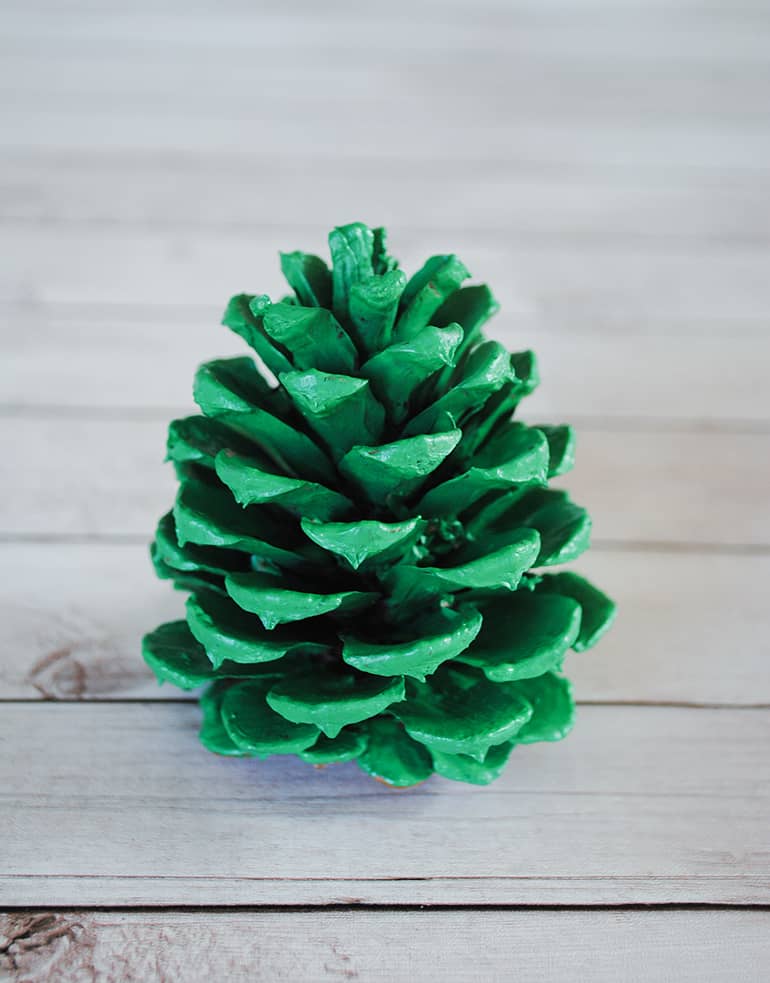
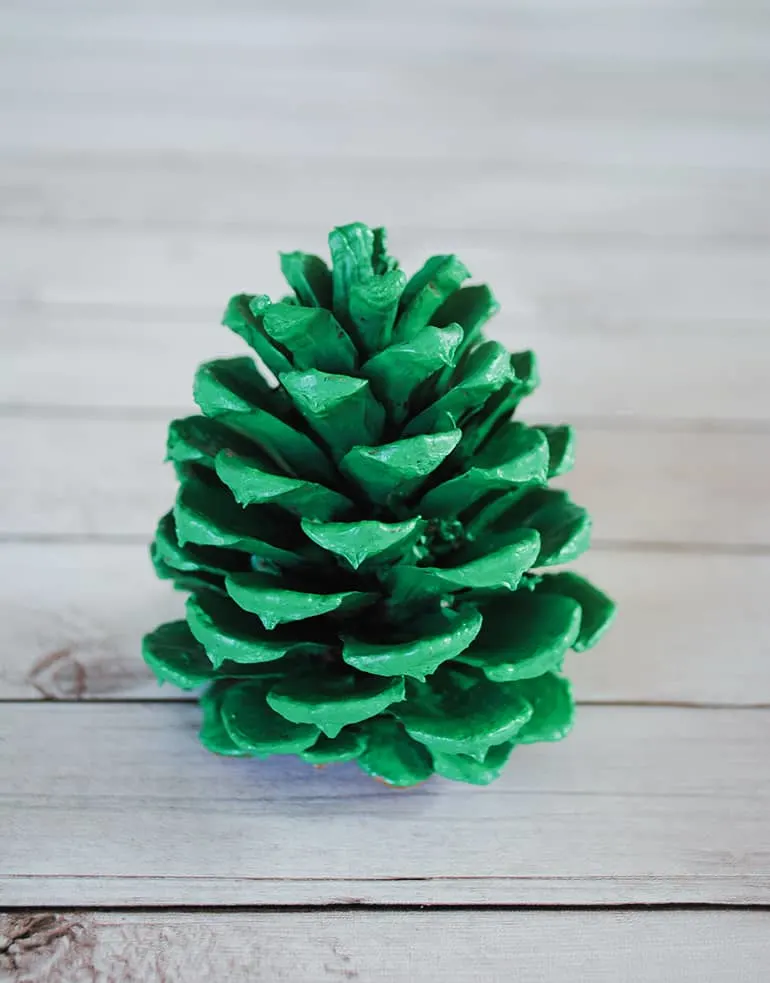
The first step is to paint your pinecone solid green. I used green acrylic paint and a fairly small paintbrush.
Definitely try to make sure to get in all the little crevices. This may take one or two coats of paint to make sure everything is covered and there is no pinecone showing through. Alternatively, you could leave a bit of pinecone showing through on purpose. This would make for a more rustic looking Christmas Tree.
For me, this step was so very relaxing. Something about painting an object and not having to think can really clear your mind. The relaxing effects art can have has always been one of my favorite aspects of painting and creating in general.
Once the pinecone is completely dry it is time to move onto some snow! Using a small paintbrush and white acrylic paint, create some snow covered branches by painting the tips of the pinecone.
Next, go in with another small paintbrush and add tiny little Christmas lights. I used red, blue and yellow dots to create mine. I would recommend painting the tops and bottoms of the pinecone needles so that your Christmas Tree will look great from whichever angle you happen to be viewing it from.


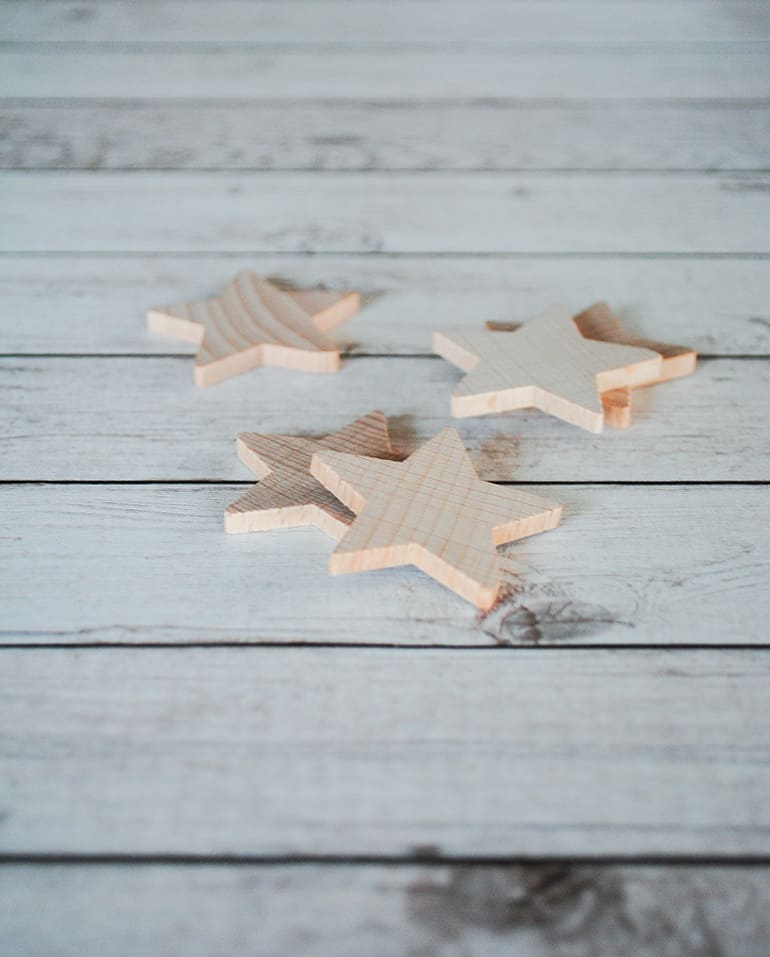
I picked up these small wooden stars from my local craft supply store. I had actually purchased them at an earlier time, just knowing at some point in the future, I would find a use for them. And I sure did!
Again using acrylic paint, I covered both sides of this wooden star a bright yellow paint.
Side note: Do you have a star on top of your Christmas Tree? For whatever reason my parents never did while I was growing up and I haven’t got around to purchasing one myself quite yet. I think this year might be the year though!

Another item I had actually bought well before this pinecone Christmas Tree project was even a thought in my mind, were these fun small natural wood slices. Click here to view the Amazon link that I purchased these from. After digging through my craft supplies, I thought that this would make the perfect base for my tree.
Using a few dabs of hot glue, I attached the painted Christmas Tree to the wood slice. Now this cute little decoration is really coming together!
For the final touch, I again used hot glue to stick the wooden star to the top of the pinecone. Since it’s a smaller, thinner area than the base of the pinecone, I would recommend holding the star in place for a few seconds while you let the glue fully dry.


And that is all there is to creating this beautiful pinecone Christmas Tree craft. Make a bunch of them to create a fun little pinecone tree forest!
This craft would make great holiday decorations that you could display around your house year after year. Either on a side table, on a mantle above the fireplace, or even on your desk to make your work space seem a bit more festive!
They would also make great DIY gifts for friends or family members. I am actually planning on making a few of these for a friend that is moving into a new house soon. With a new space you definitely need more Christmas decorations, right?!
Did you make this pinecone Christmas Tree? I would love to see it! Feel free to tag me on Instagram at @pjsandpaint if you decide to upload any pictures.
Merry Christmas everyone!
Peggy
Friday 10th of December 2021
Wonderful project! I just made it today with my kinder class. They had collected pinecones(over 100!) from the playground earlier this year. We painted the pinecones green. Thank you for the tip about acrylic paint! Then we added white dots of paint for "snow" and sprinkled them with a mix of silver and white glitter while the paint was still wet.
This ties in with our science unit on trees. Only two wood slices actually come with the science kit. This way each child had their own slice and could count the growth rings. I had them write their name and the year on the one side of the slice with Sharpies. Some of them really got into it and covered that one with colorful drawings. Then I hot glued the trees to the other side of the wood slices... and a magical forest appeared!
Next week we will add some tree toppers and perhaps some cotton at the bottom to represent more "snow".
Thank you for this project. Our class had wonderful time doing it together, and each child will have a lovely Christmas keepsake.
Ri
Thursday 2nd of December 2021
This looks so delicate, and perfect, it's just awesome!
Catherine Hale
Sunday 10th of October 2021
This will be a great activity for the residents at the nursing 🏠
Megan
Thursday 8th of October 2020
I don't have any kids...but what I do have is buckets and buckets of pinecones from our trees in the backyard. I am looking for some new ideas for ways to use them and this seems like a cute project that I am going to turn into a garland to decorate my porch window with. I think it will work cause the pinecones are lightweight and I won't overload the strand. Thank you for helping me find a purpose for a few more, now a million or two to go haha. And yes I've given away and had friends come pick their own and i still have so many.
Kelly
Thursday 8th of October 2020
@Megan, That sounds like such a great idea! I'd love to see how it comes out! :)
Yesenia Aguilar
Tuesday 12th of November 2019
Loving this idea! Im going to try them thank you .