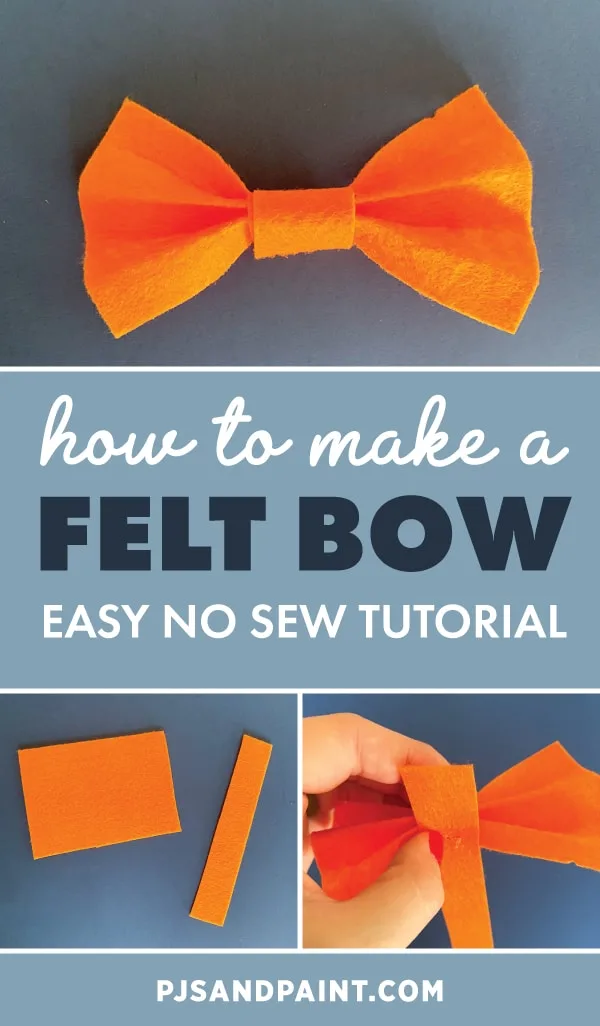
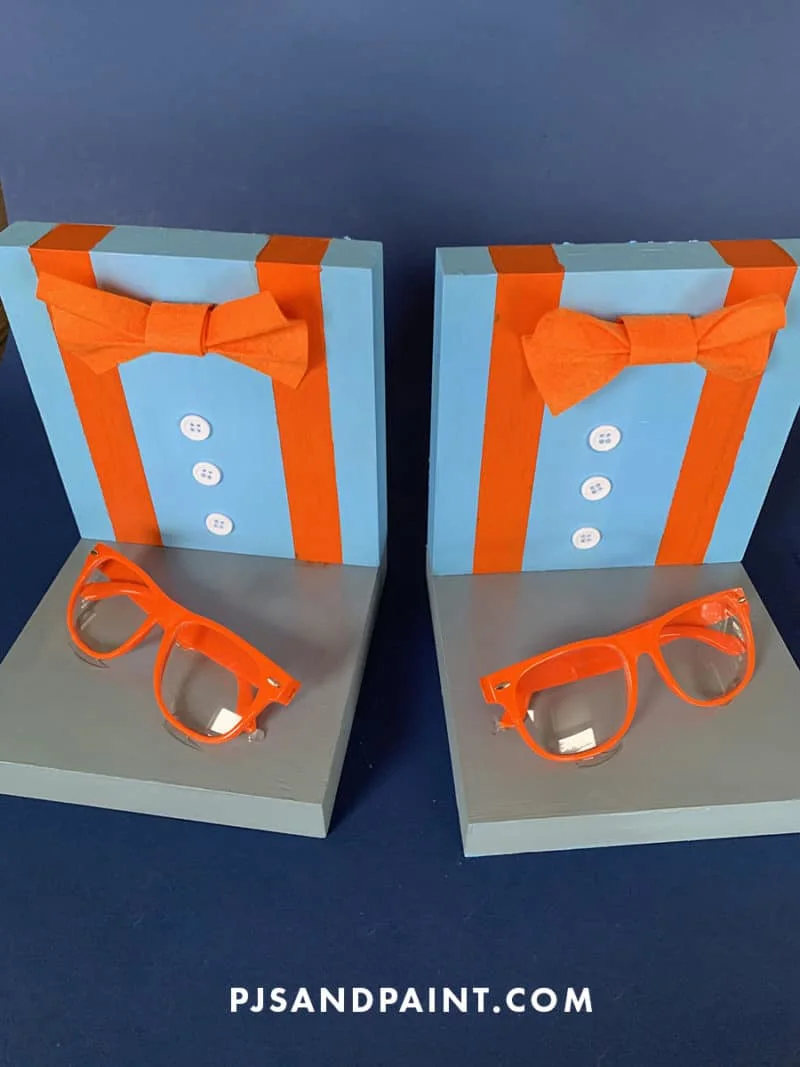
Recently I wrote a blog post on how I created DIY Blippi bookends for my son’s bedroom. For that tutorial, I needed to make a felt bow. I wanted to create a full post on how I made these easy new so felt bows so you could use them for other craft projects!
Disclaimer: This post contains Amazon affiliate links. This means that at no extra cost to you, I may earn a small commission if you decide to make a purchase.
Supplies needed to make a felt bow:
- Felt
- Hot glue
- Scissors
The final bow I made ended up being approximately 4 inches wide. However, you can definitely scale these dimensions up or down depending on where you will be using them.
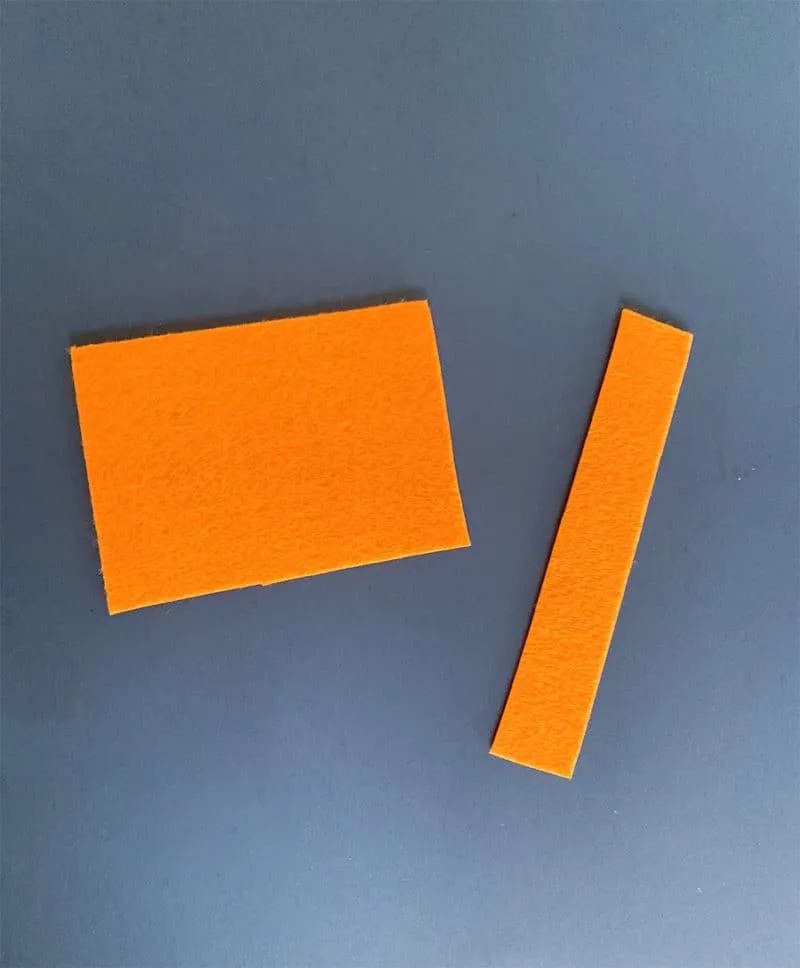
I first cut a 4×3 inch piece of felt and also a 1 inch strip. The length of the strip doesn’t matter too much, but for this project it was approximately 4 inches long.
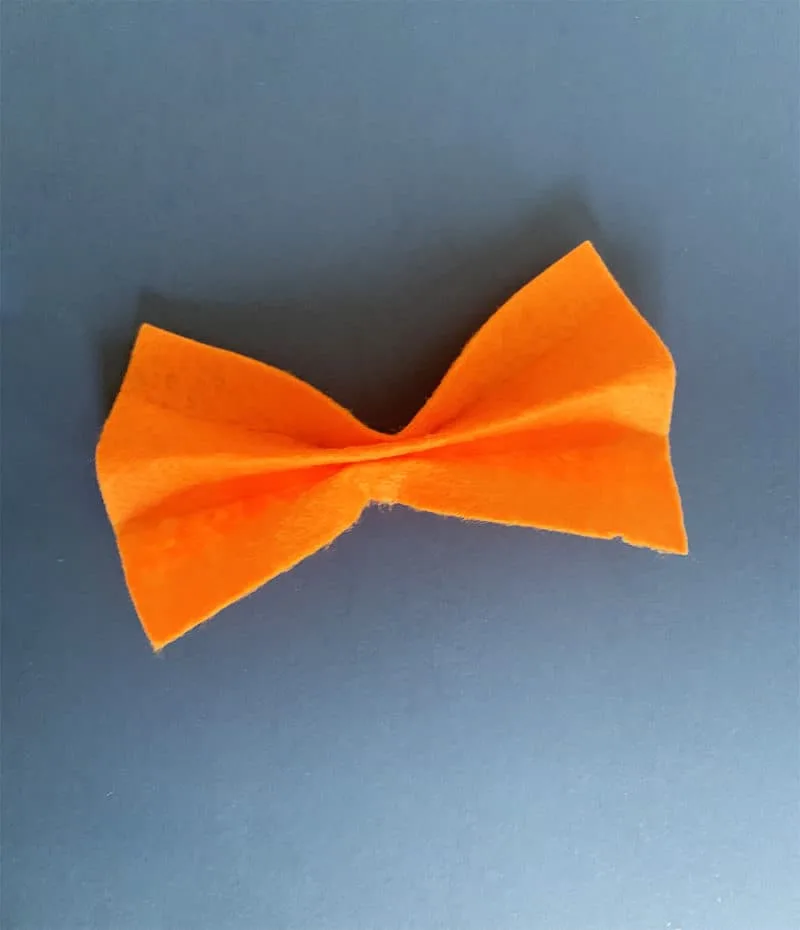
Using an accordion fold, fold the piece of felt longways. (Or as they used to say in elementary school.. hotdog style! Anyone else remember that?!)
Place a dab of hot glue in between the folds and hold in place for a few seconds. But be careful not to burn your fingers!

The bow should now look like the photo below.
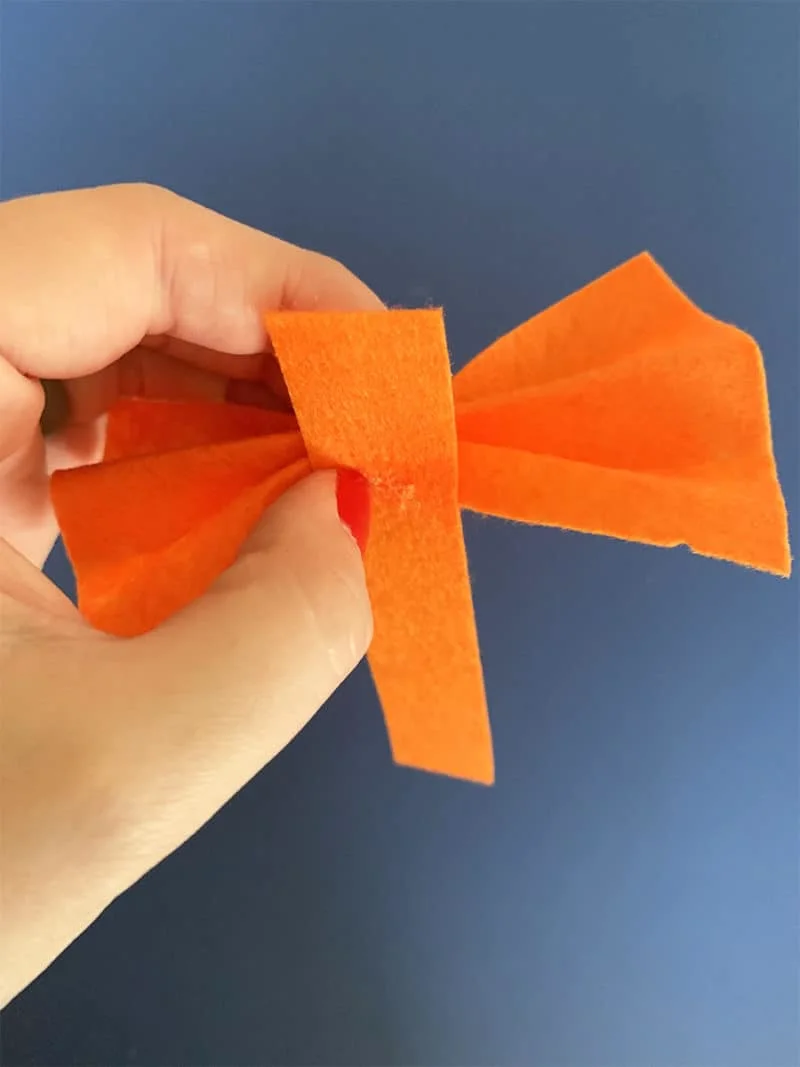
Taking the 1×4 inch strip of felt, place a dab of hot glue in the center of the bow and attach the felt strip.
Continue to wrap the felt strip around the center of the bow. Use another dab of hot glue to secure down.
And now you have a simple DIY felt bow to use on all your craft projects.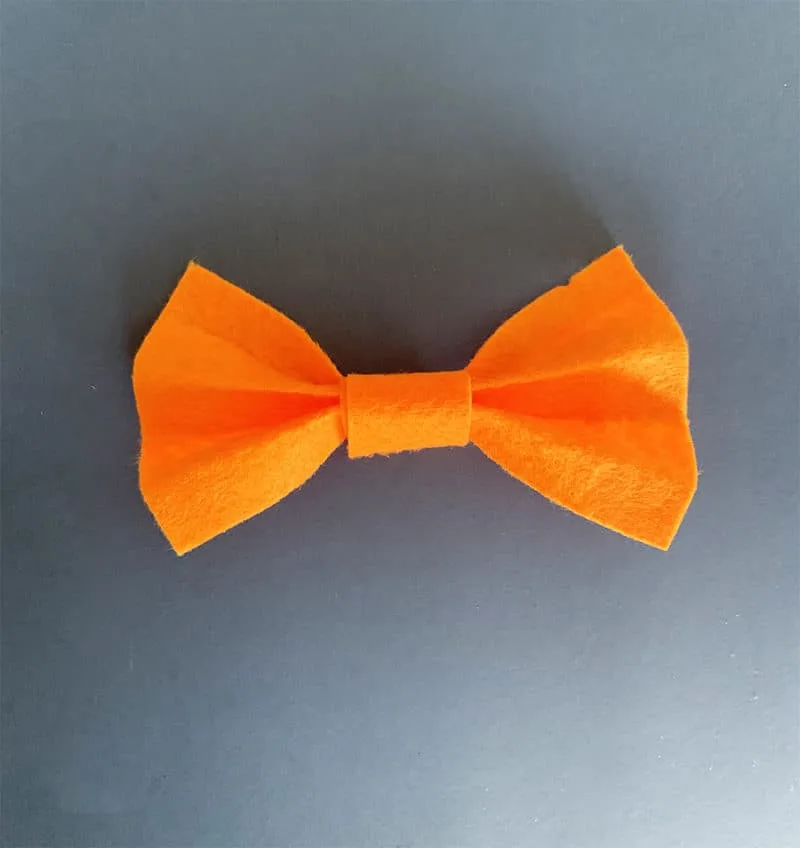
Check out what I used mine for in this post:

Sandra
Tuesday 29th of October 2019
Looks so easy!