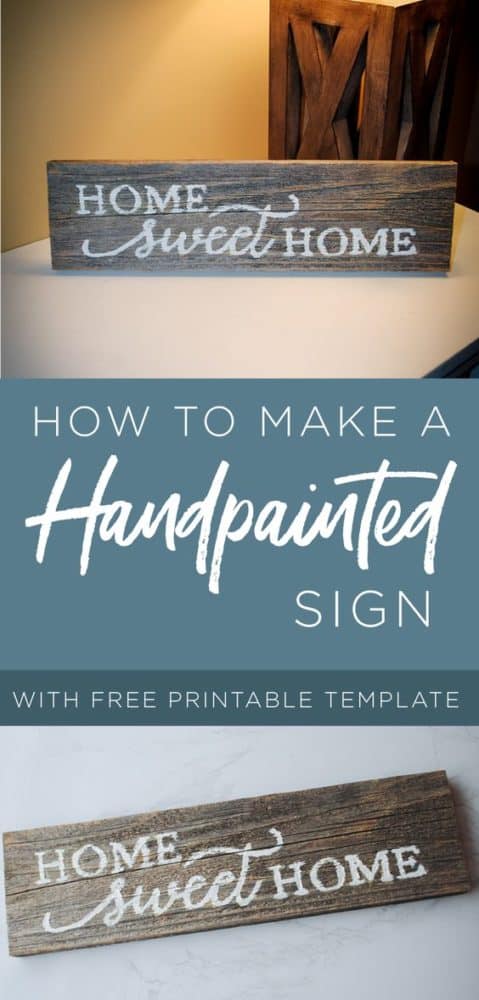
Rustic Handpainted Sign DIY - With Free Printable Stencil
Handpainted signs are very popular right now. Everyone seems to really love adding a rustic and personal touch to their home decor. So today I have a very easy handpainted sign DIY that absolutely anyone can do! You don’t need any brush lettering skills in order to create your very own handpainted sign. I’ve created a printable “Home Sweet Home” stencil that you can print at home. Let’s get started!
Disclaimer: This post contains Amazon affiliate links. This means that if you purchase something though one of our links, we may earn a commission. This commission comes at no additional cost to you. Every purchase helps keep Pjs and Paint up and running!
Supplies needed:
- Wood plank (The one I used measured 12 x 3.5in)
- White paint
- Chalk
- Tape
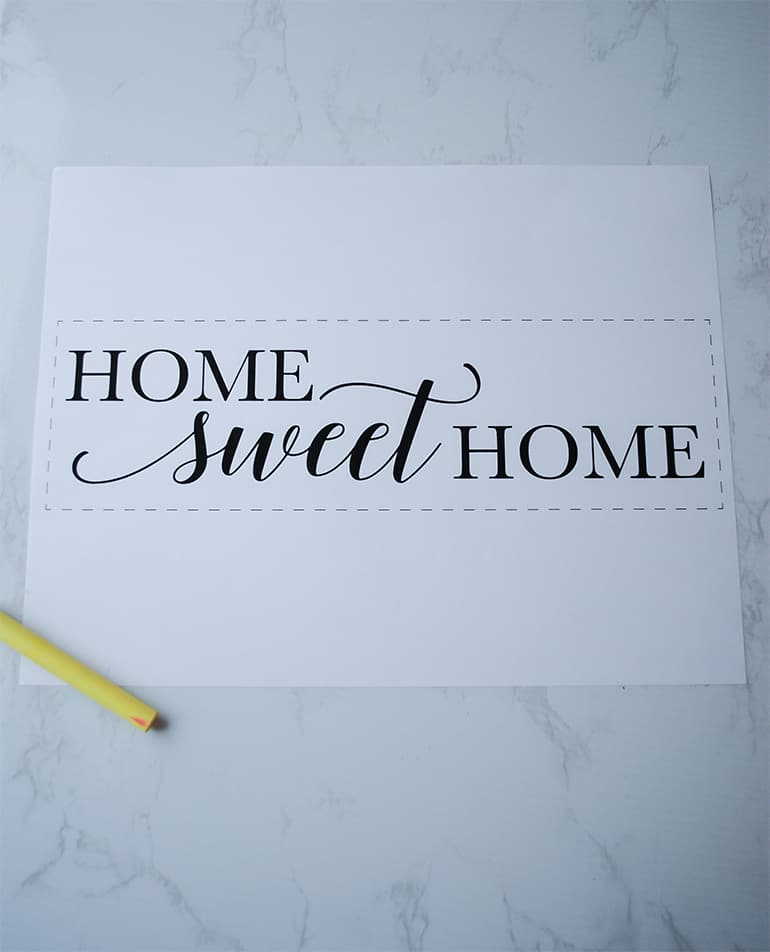
- Home Sweet Home stencil (Download and print for free here!)
Before we get started I just wanted to point out that if you use the same wood planks that I purchased, this sign will come out very rustic looking. I ordered a pack of 6 and because they are authentic naturally weathered wood planks, they have a rough uneven texture. I think they are just perfect for the rustic farmhouse type style I was going for.

Click here to download the Home Sweet Home printable stencil. You can print this on standard 8.5x11 paper and the words will measure approximately 10 inches wide.
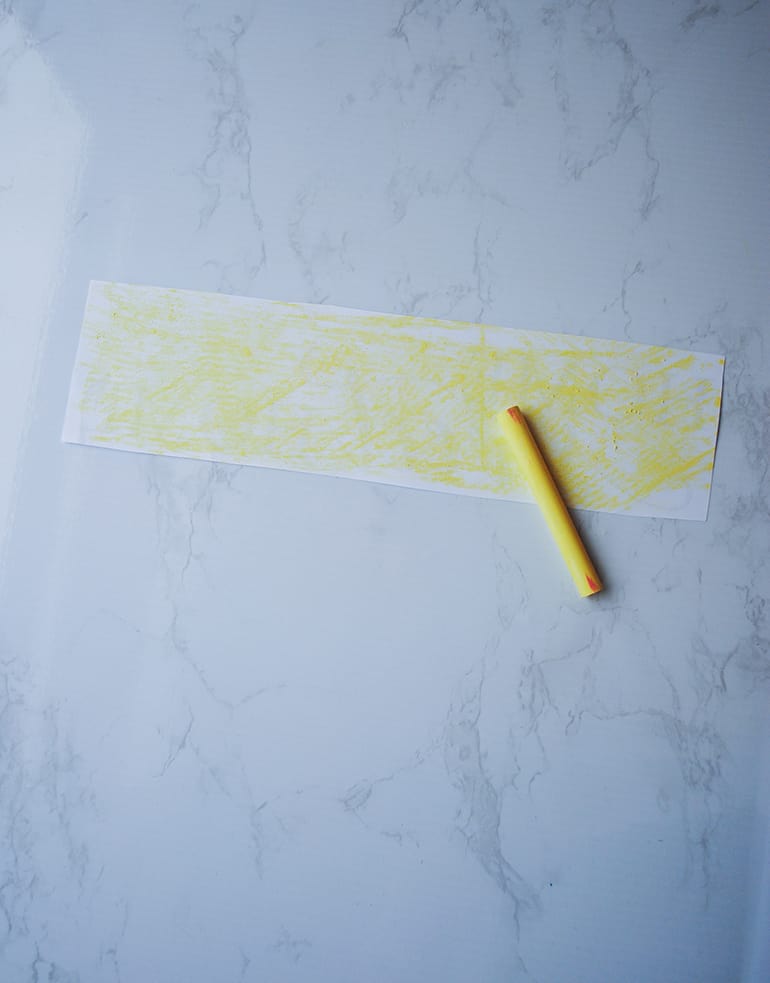
Now, trim the excess paper off and color the entire back of the stencil with chalk. Really make sure the chalk goes on thick and covers the whole area.
Next, flip the stencil back over and position the paper on the wood plank. Hold in place with scotch tape or masking tape.
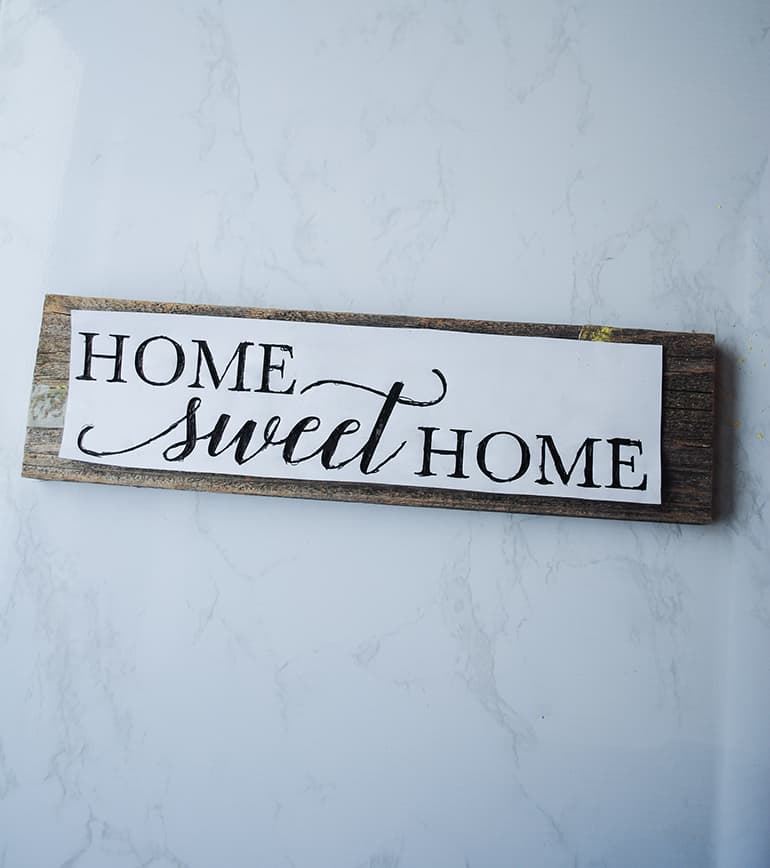
Take a pen and go over each letter. I filled in each word pretty heavily to make sure the chalk transferred to the wood.
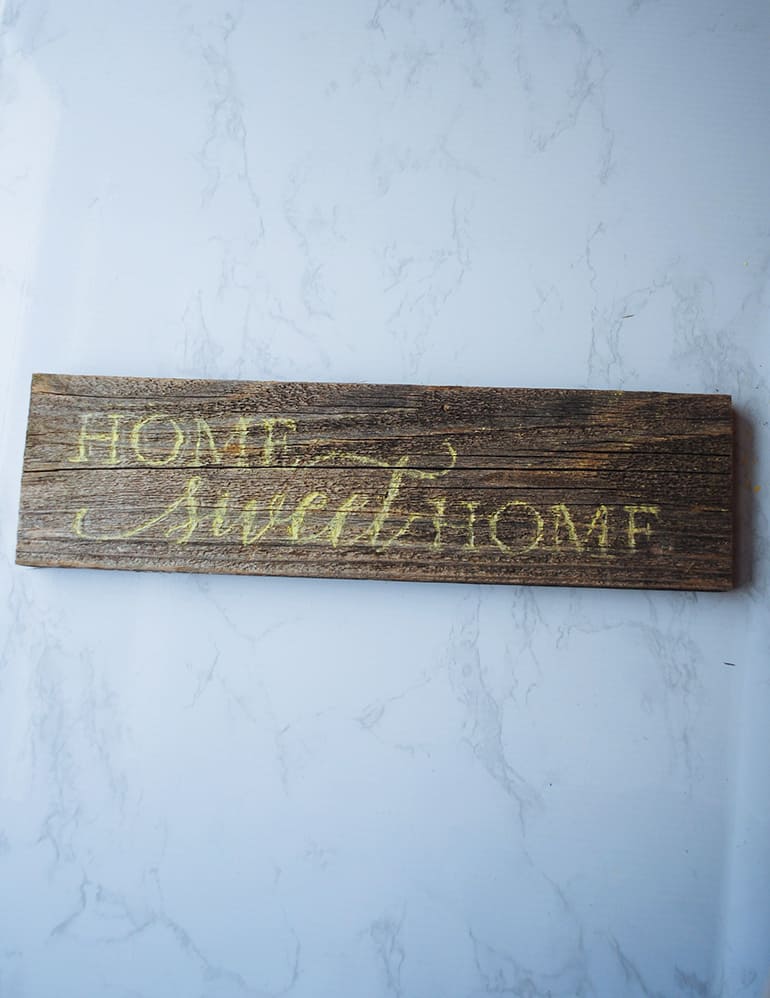
After that, peel back the stencil to make sure you see the words transferred to the wood. If it’s not dark enough, you can stick the stencil back down and press a bit harder or add some more chalk.
Now grab some white paint and start painting over the letters. I had my stencil right next to me so I could reference the words while working on it. After the paint dried, I went over it one more time with a second coat, just to make the white a bit brighter.
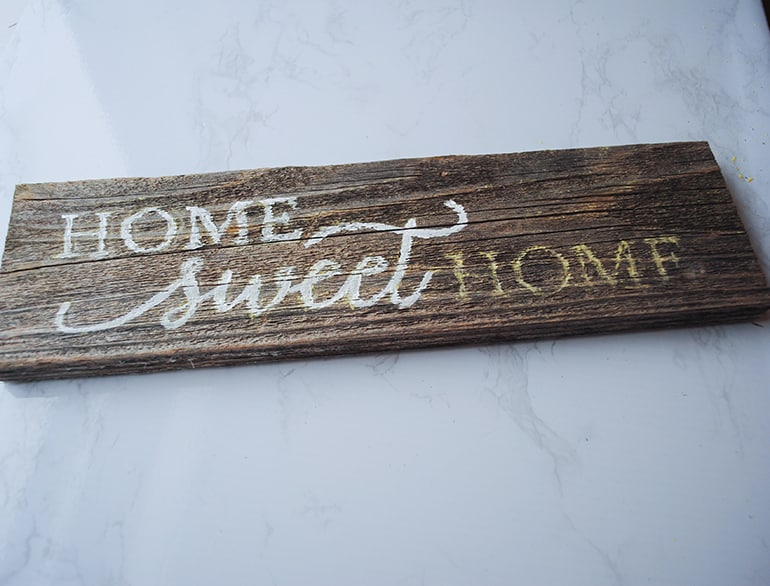
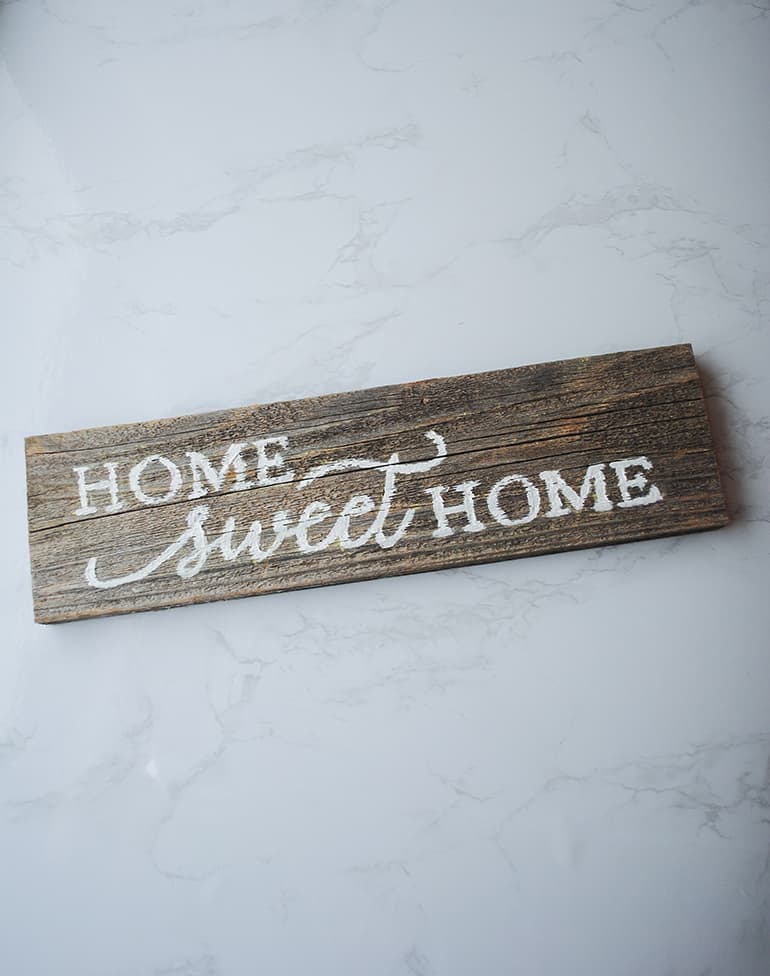
And that’s all there is to it! You can display your sign on a table like I did, or hang it on a wall.
Let me know in the comments if you’d like me to create any other stencils and I can definitely share them in a future post.