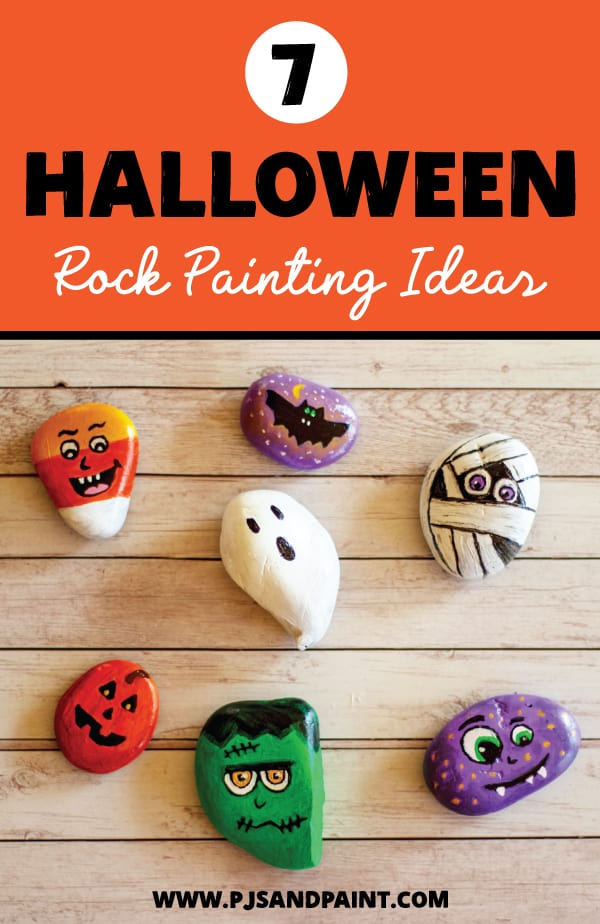
7 Halloween Rock Painting Ideas | Easy Halloween Crafts for Kids
Rock painting is such a fun way to get in the Halloween spirit. And the best part is that is super inexpensive!
All you need are some rocks that you can find outside, (or purchase at a craft store) brushes and some acrylic paint.
I had a ton of fun painting these Halloween themed rocks. I even recruited my husband to paint a few with me! I came up with 7 fun Halloween rock painting ideas to inspire your own creativity!
Disclaimer: This post contains Amazon affiliate links. This means that at no extra cost to you, I may earn a small commission if you decide to make a purchase.
The key to a really good painted rock is definitely finding a rock with a great shape and texture. Smooth and semi-flat rocks typically work best.
TIP: I would highly recommend putting down a layer or two of white paint first, before getting started on the decorative part of the painting. This acts somewhat as a primer and is definitely necessary if you're painting on dark rocks like I was.

After you are finished painting, you can also add a coat of varnish to make the rock design look more finished and also help protect your work. I use Mod Podge 1470 Clear Acrylic Sealer that I purchased from Amazon.
Halloween Rock Painting Ideas
Frankenstein

To create this Frankenstein rock, I painted green acrylic paint over the entire rock. After it was completely dry, I then went in with black to outline his hairline, eyes, mouth and forehead scar. Make sure to use a fairly thin brush here! I then filled in the hair and eyes and went back in with a slightly darker green shade to give his face a bit more texture.
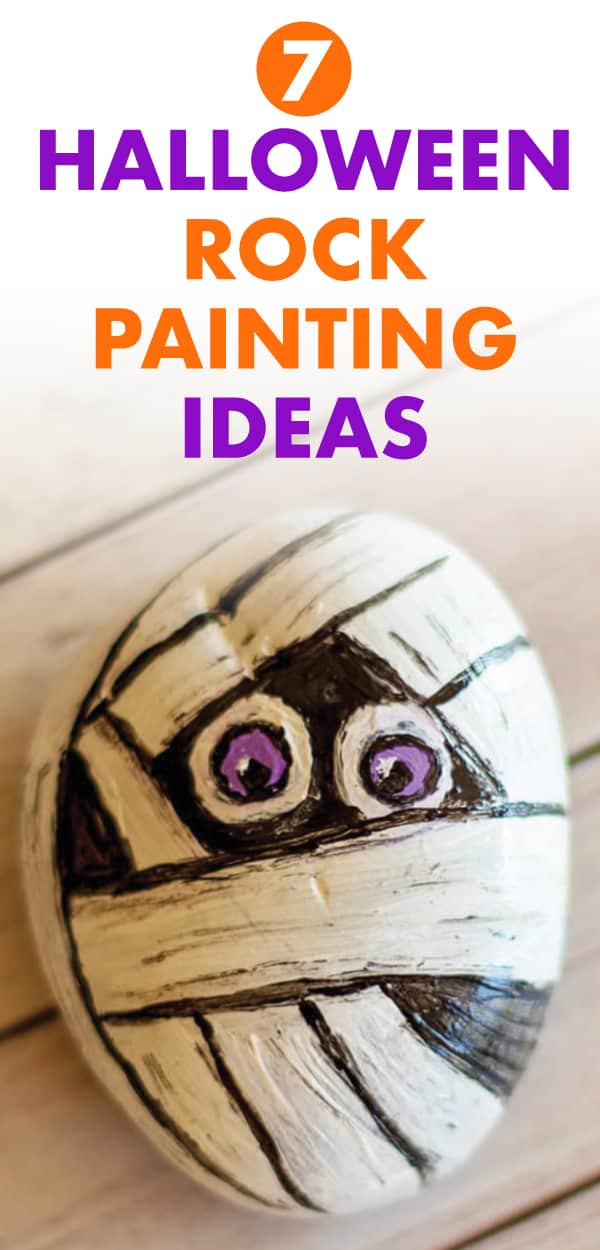
Mummy

I'm torn between this Mummy rock and the Frankenstein for my favorite. To create this design, I painted the majority of the rock white. I left a few spaces open for the eyes and skin showing through. Afterwards, I painted in his purple eyes and filled in the empty spaces with black paint. When everything was completely dry, I went back in with a thin paintbrush and defined the lines of the mummy's wrap. I added a few faded black/gray lines to add some texture.
Monster

This monster rock was super fun to paint! I first put down a base coat of purple acrylic paint over the entire rock. I then went in with a thin paintbrush and created the outlines of the eyes, (two different sizes!) eyebrows and mouth. I left a bit of open space to add in some white paint for his teeth. After finishing the eyes, I created some yellow polka dots in the background to make his face more interesting.
Candy Corn
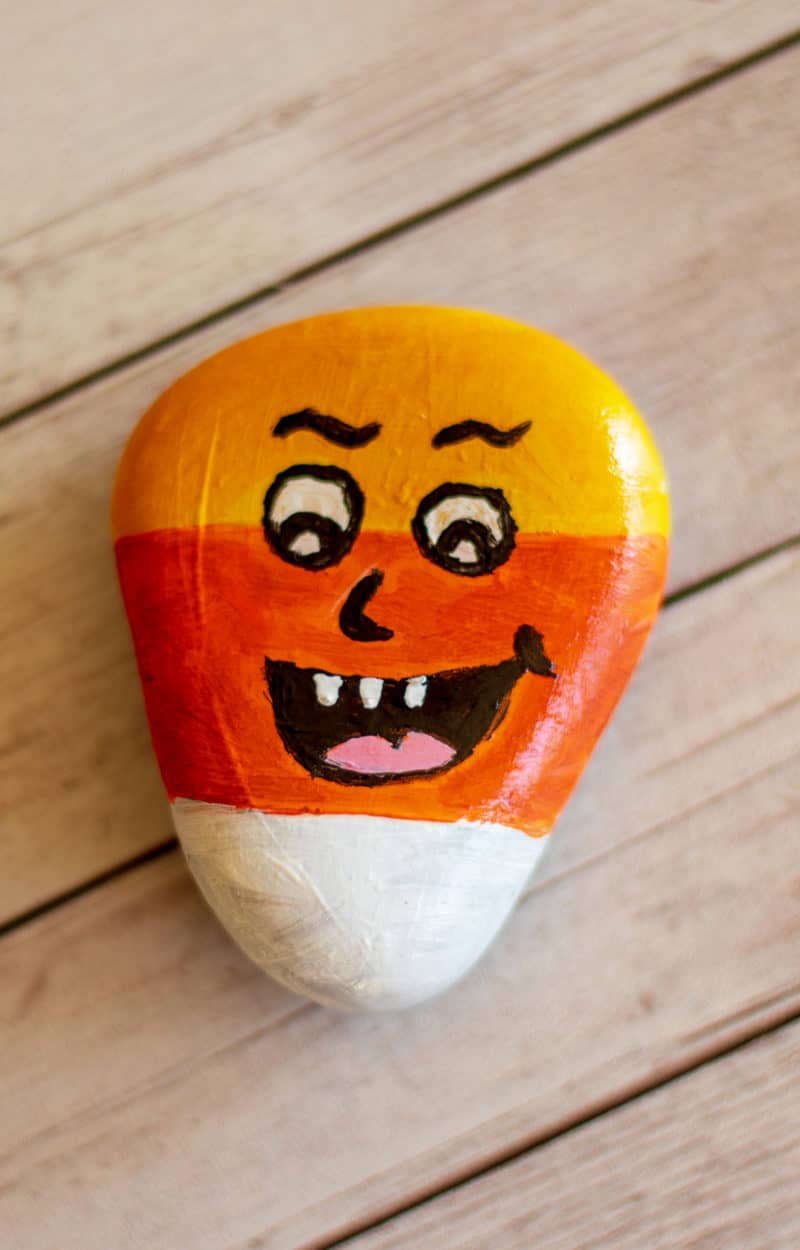
To create this candy corn rock, I painted three stripes of color. Yellow at the top, orange in the middle and then a bit of white at the bottom. The key to this design is picking a rock that has somewhat of a triangle shape. After the base of the candy corn was completely dry, I went in with black paint to create his eyes, eyebrows, nose and mouth. My original intention was to make a happy candy corn, but I think he ended up looking like he's up to no good!
Ghost
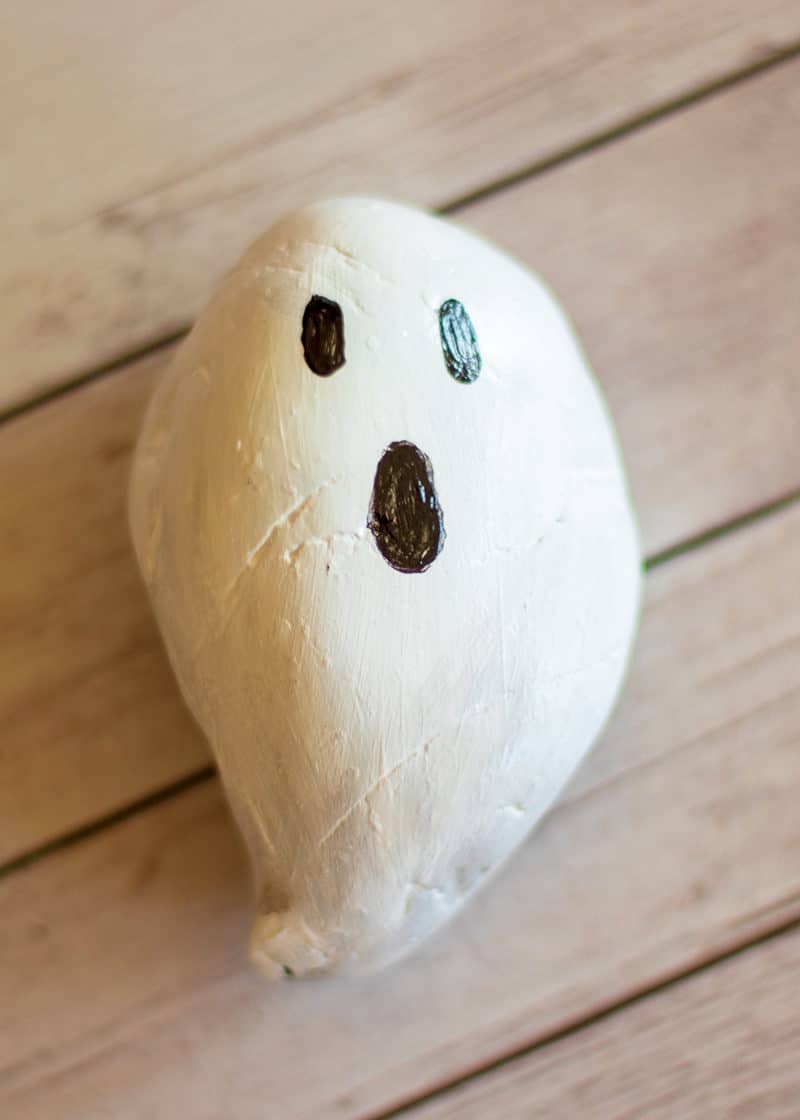
Definitely the most simple rock of the bunch is the ghost. Sometimes less is more! All you need to do to create this design is paint the rock completely white. After it is totally dry, go back in with black paint to create the eyes and mouth. I added a few gray brushstrokes here and there to add some texture.
Pumpkin

To create this pumpkin design, I started with painting the entire rock orange. After that layer was dry, I went back in with black paint to create the Jack-O-Lantern's face. I added in a small brown stem at the top, and a few burnt orange lines to create some more definition.
Bat

This was another simple rock to paint. I first started with a base coat of purple. However, any color would look great as a background. After the purple was totally dry, I drew in the outline of a bat and then filled it in with black paint. Once the bat was dry, I added in tiny green eyes and two sharp fangs. To complete the background scene I went in with a tiny bit of yellow to give the bat somewhat of a glow around it. Afterwards, I added in a small crescent moon and stars as well.