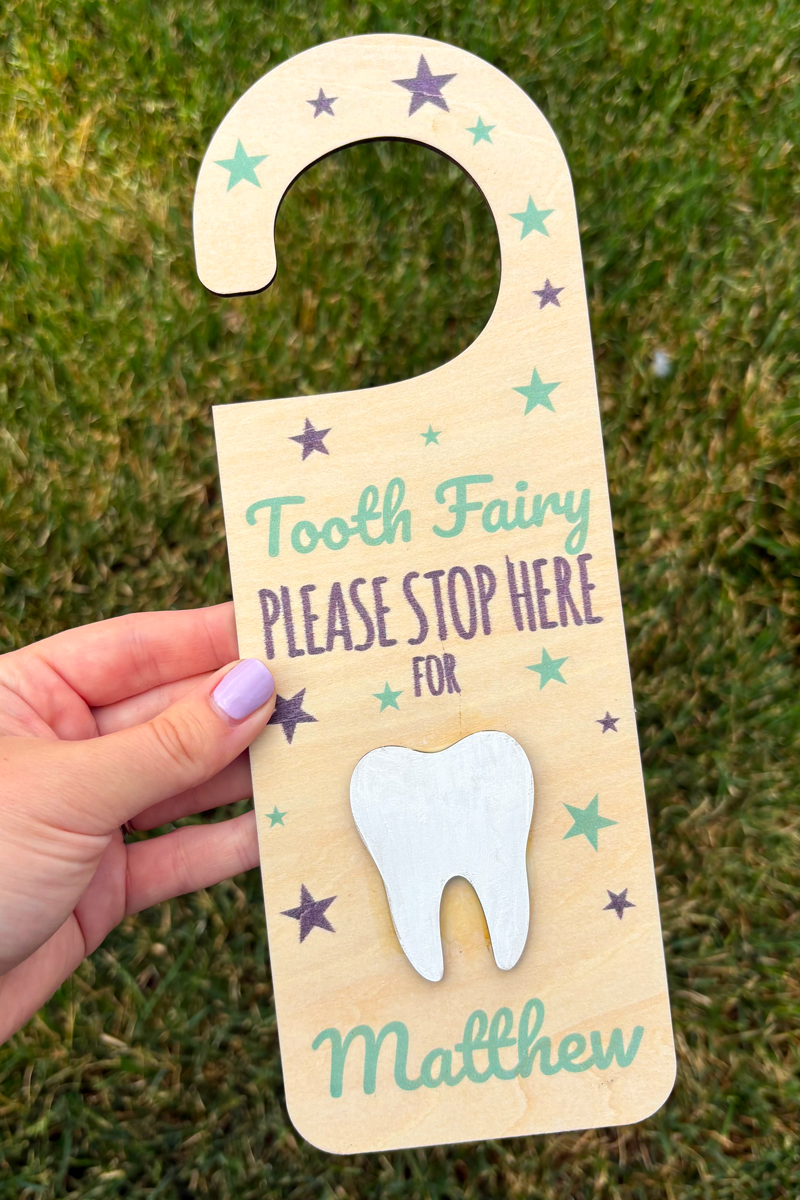
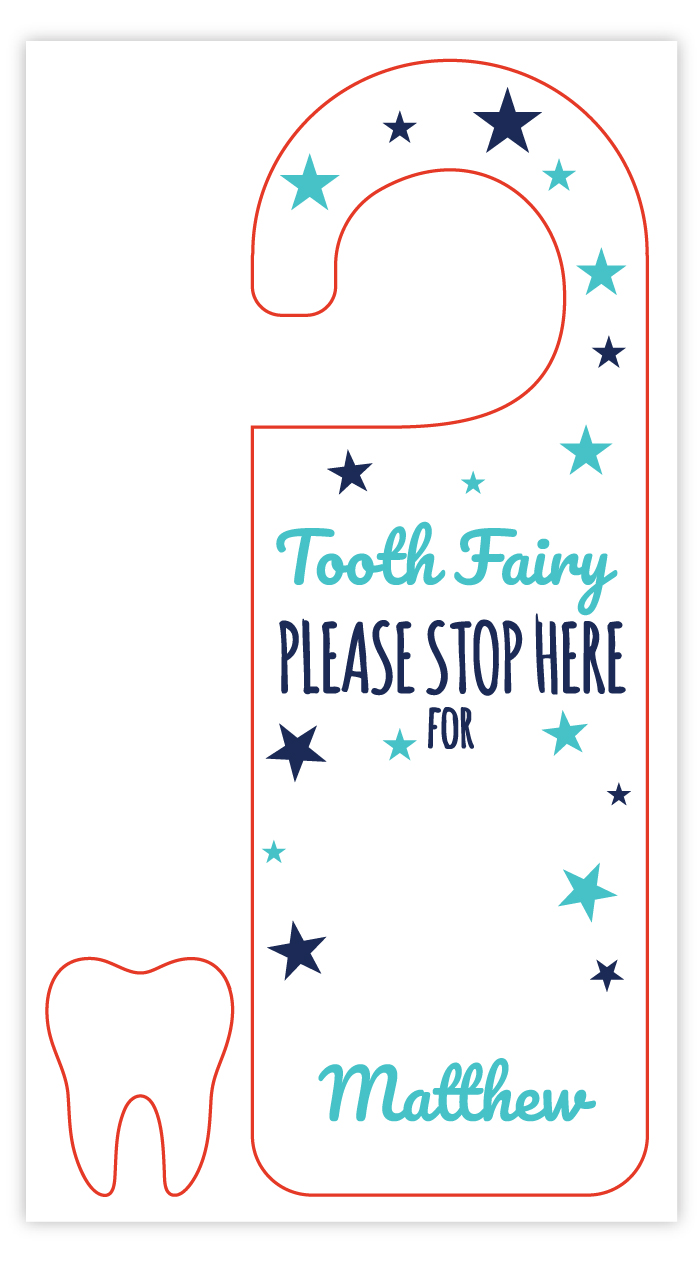
DIY Tooth Fairy Door Hanger Using the xTool M2
Losing a tooth is such a big milestone for kids. It’s one of those exciting moments they look forward to for years, and it can make them feel like they’re growing up in such a special way. To make the experience even more magical, I created this personalized Tooth Fairy Door Hanger!
Not only does it give the tooth fairy a way of knowing your child has lost a tooth, but it also adds an extra touch of excitement and wonder to this memorable stage of childhood.
For this project, I used a few simple supplies to bring the tooth fairy door hanger to life:
Materials Used:
- ⅛-inch basswood plywood
- Free Editable SVG file (located at the bottom of this post)
- Pacifico font
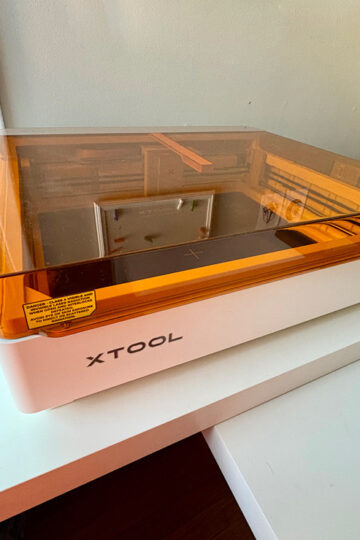
- xTool M2
- White acrylic paint
- Paintbrush
- Glue
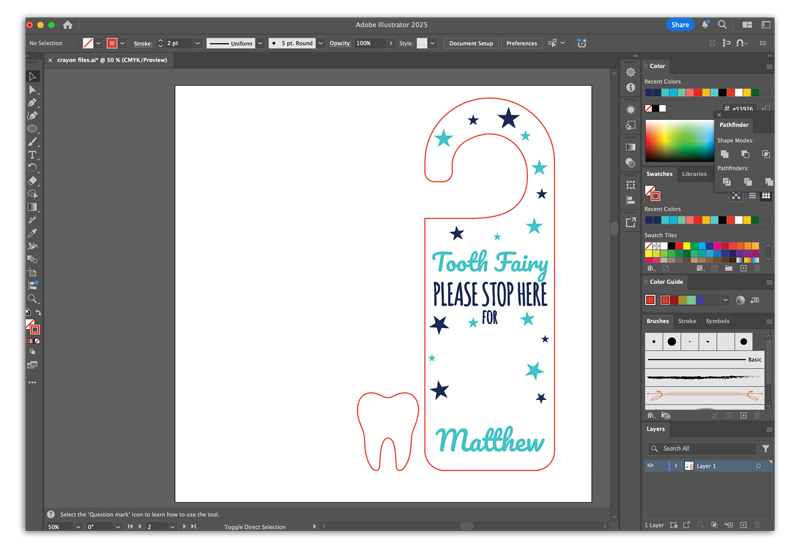
The first step was loading the SVG file into xTool Studio. I personalized the design by editing my child’s name directly in the file to make it extra special. If you’d like your finished project to look just like mine, be sure to download the Pacifico font onto your computer before opening the file.
I also made sure to convert all text to outlines and use the pathfinder tool to join all the letters together.
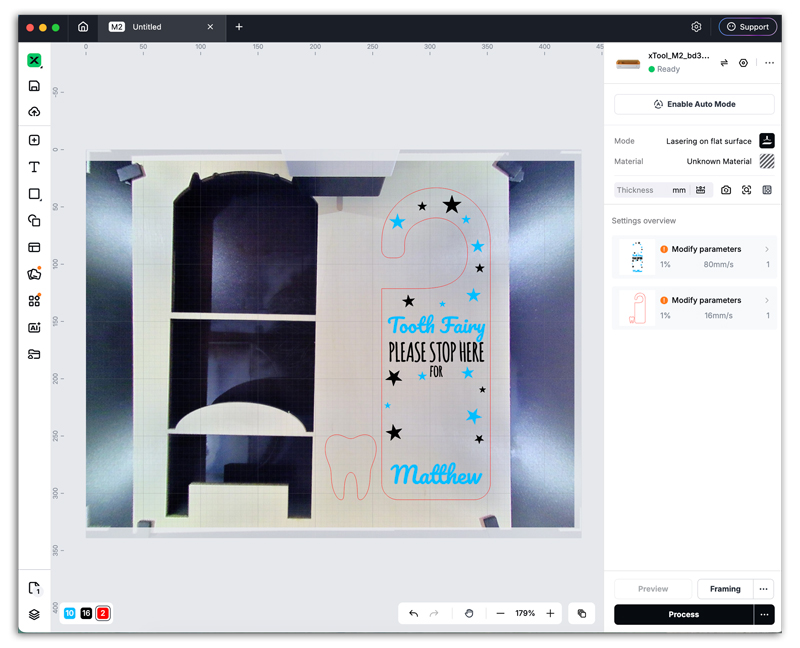
Once the file was ready to go, I used the CMYK printer module on the xTool M2 to print the text and stars directly onto the piece of basswood. I absolutely love that the M2 allows you to combine printing and laser cutting in one machine. It makes projects like this feel so seamless and professional.
After the printing was complete, I switched over to the laser module and ran the machine again to cut out both the door hanger and the tooth piece. One of my favorite features of the xTool M2 is the built-in camera system.
It made it incredibly easy to perfectly align my design and ensure everything was placed exactly where it needed to be. Honestly, this camera feature has been a huge game changer in my laser crafting experience and is one of the many reasons I love using the xTool M2.
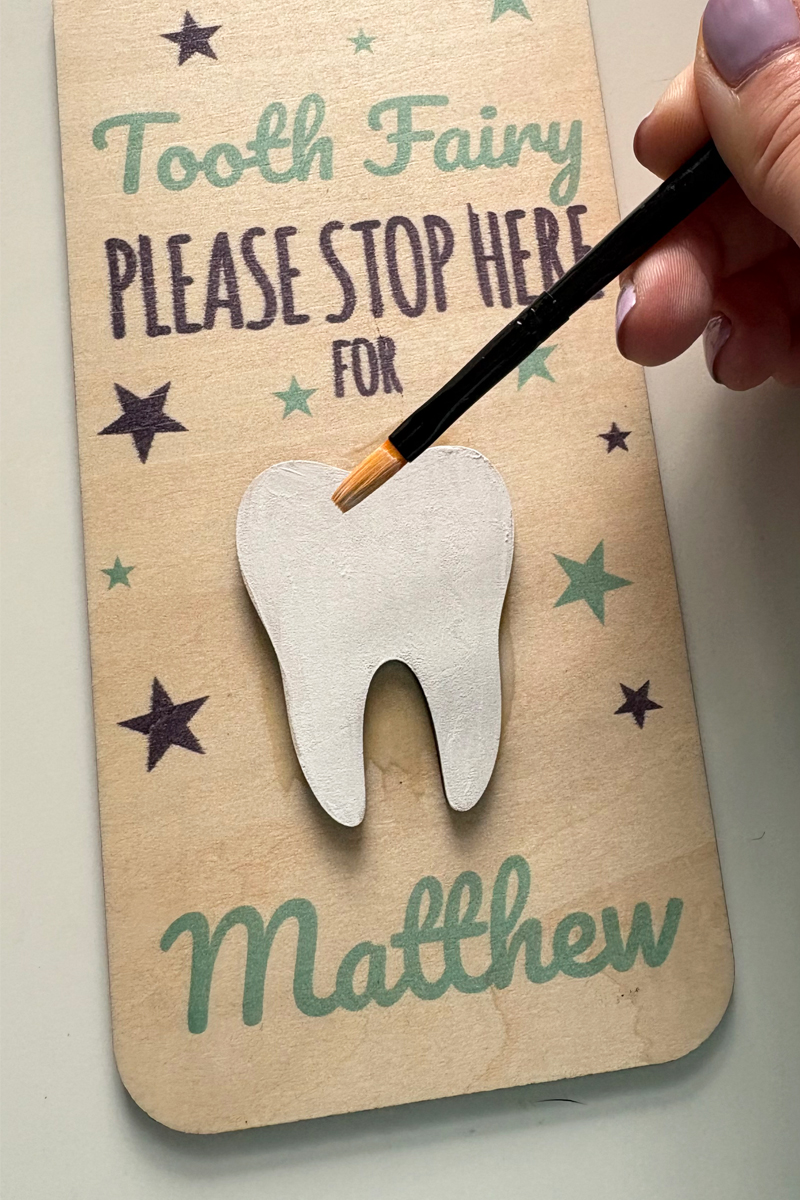
Next, I used white acrylic paint to paint the tooth piece. Once it had completely dried, I glued it onto the empty space on the door hanger to finish the design.
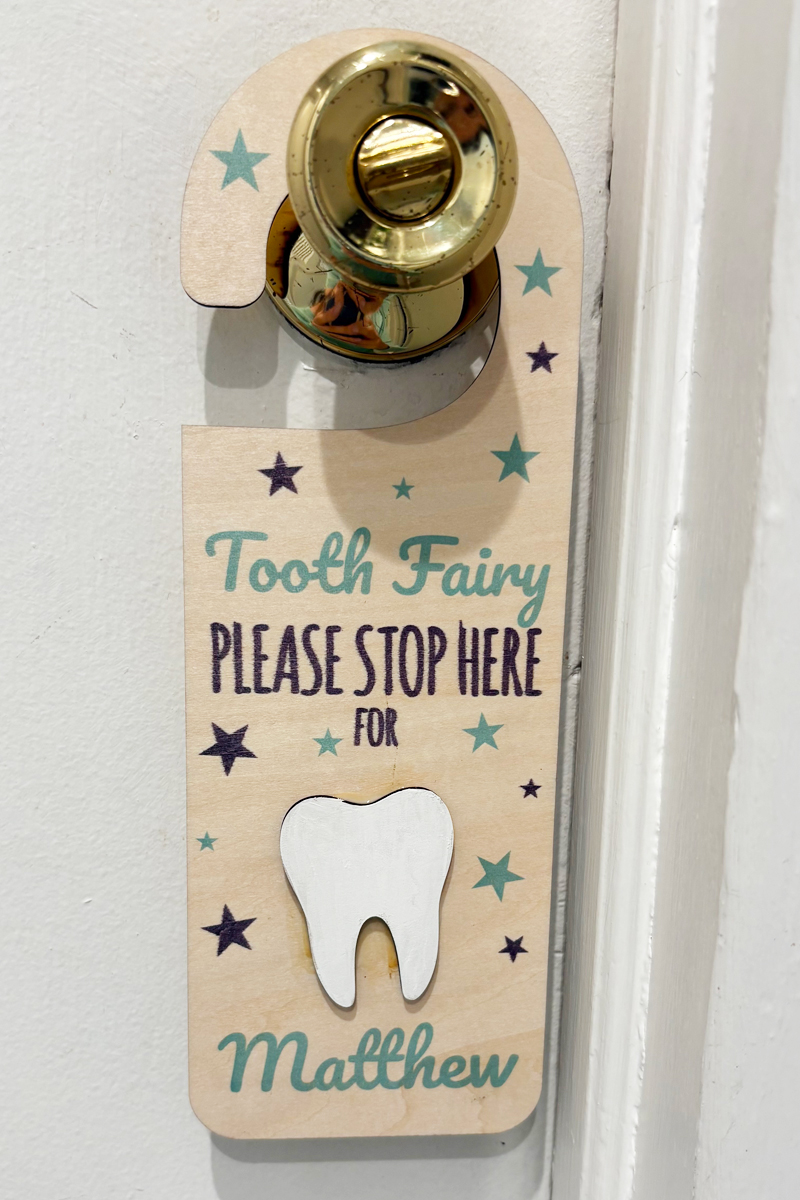
Finally, it was time for the fun part, hanging the tooth fairy door hanger on my son’s bedroom door and waiting for the tooth fairy to arrive! I know this is going to make losing a tooth feel even more exciting and memorable.
Free Editable SVG File
This file is intended to be used for personal or classroom use only. Please do not edit and sell the files or products made with the files.
By entering your email address you are opting into our email list. Feel free to unsubscribe at any time.