Free Printable Build a Penguin Craft
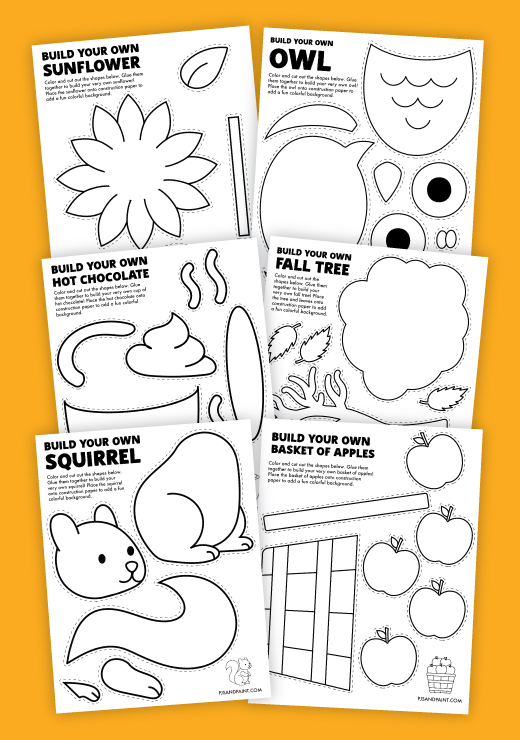
This free printable Build a Penguin craft is perfect for kids to work on at home or in the classroom. It makes a fun activity to keep everyone entertained and having fun on a cold Winter day.

This post contains sponsored content and affiliate links. This means that at no extra cost to you, I may earn a small commission if you decide to make a purchase. Thank you to MUNBYN for sending me the super cool A4 Portable Printer you'll read about below. For more information regarding our affiliate disclosure, feel free to take a look at our privacy policy page.
Supplies needed:
- Free printable coloring page (the template download link is located at the bottom of this post).
- Printer and paper
- Crayons, markers or colored pencils
- Scissors
- Glue
- Construction paper
How to assemble the penguin craft
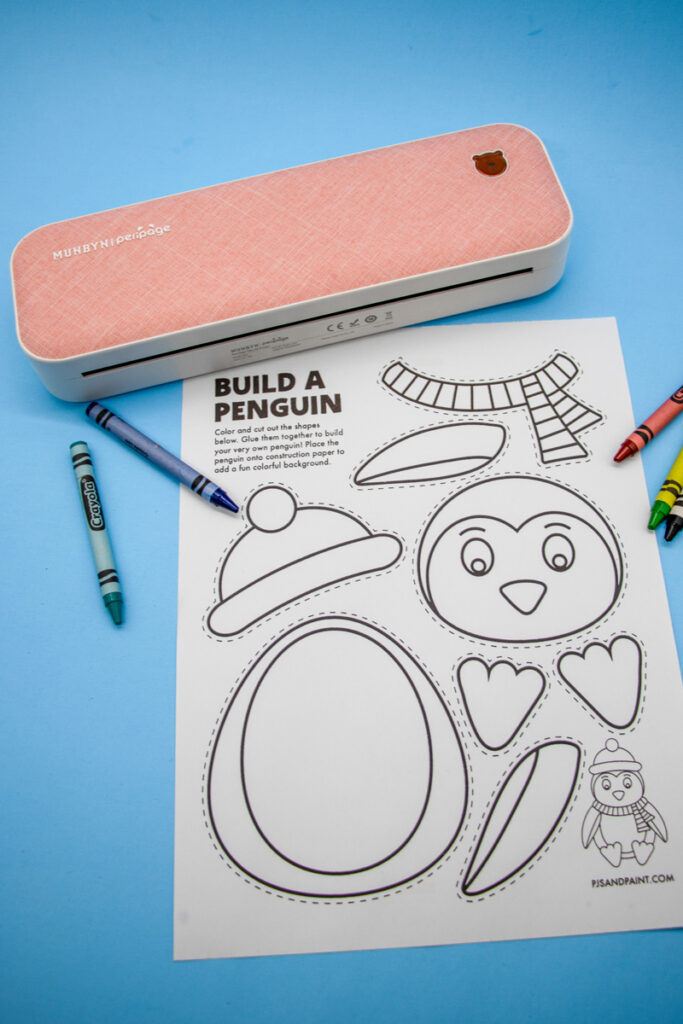
Step 1: Print the coloring page.
Lately, I have been using my MUNBYN A4 Paper Portal Thermal Printer and I cannot say enough good things about it! Besides it being super cute and aseptically pleasing on my desk, it has some pretty amazing features such as:
- Thermal printing technology. What this means is that there is no ink and no toner! And if you are printing out crafts and activities as much as I am, this is a huge money and energy saver!
- Wireless. This printer is wireless and can connect to your phone via Bluetooth. No cables needed! It was simple to set up right out of the box and I was printing within minutes!
- Portable. One of the coolest features about this printer is that is is portable. Being that it is only 1.45 pounds it is super easy to cary.


I honestly cannot say enough good things about this printer! It is definitely my go to from now on!
Check out the MUNBYN A4 Paper Portable Thermal Printer for yourself here.
Once the coloring page is printed, you can move onto step 2.
Step 2: Color in the shapes.
Next, using markers, crayons or colored pencils, begin coloring in all of the shapes that make up the penguin. Feel free to be as creative as you would like!

Step 3: Cut out the shapes.
Using scissors, cut out all of the shapes along the dotted lines.
If your kids are old enough, this would be a great time to have them practice their scissor skills. If they are not able to safely use scissors, you can cut the pieces out for them. They can participate in the next step.
Step 4: Glue the penguin together.
Begin by gluing the penguin's body onto colored construction paper. Next, glue on the penguin's head, arms and feet. Finally, add on the hat and scarf and your cute little penguin is now ready for the cold Winter weather!
Now that the project is complete, you can hang your adorable penguin craft on the fridge, in the classroom or anywhere else you need some festive homemade Winter decor.

Free Printable Build a Penguin Craft
This activity was created for personal use or classroom use only. While you are permitted to download and print as many copies as you need, please do not edit or redistribute the files in any way.
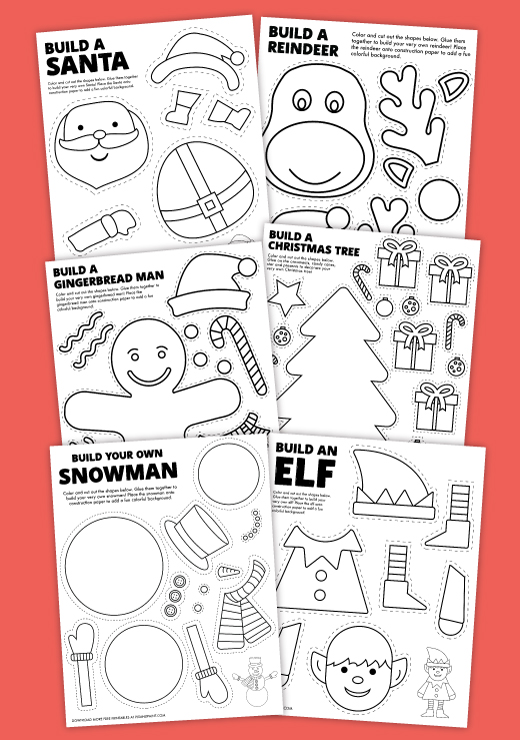
More Free Printable Winter Crafts:
- Free Printable Build a Snowman Craft
- Free Printable Build a Santa Craft
- Free Printable Build a Reindeer Craft
- Free Printable Build an Elf Craft

By entering your email address you are opting into our email list. Feel free to unsubscribe at any time.