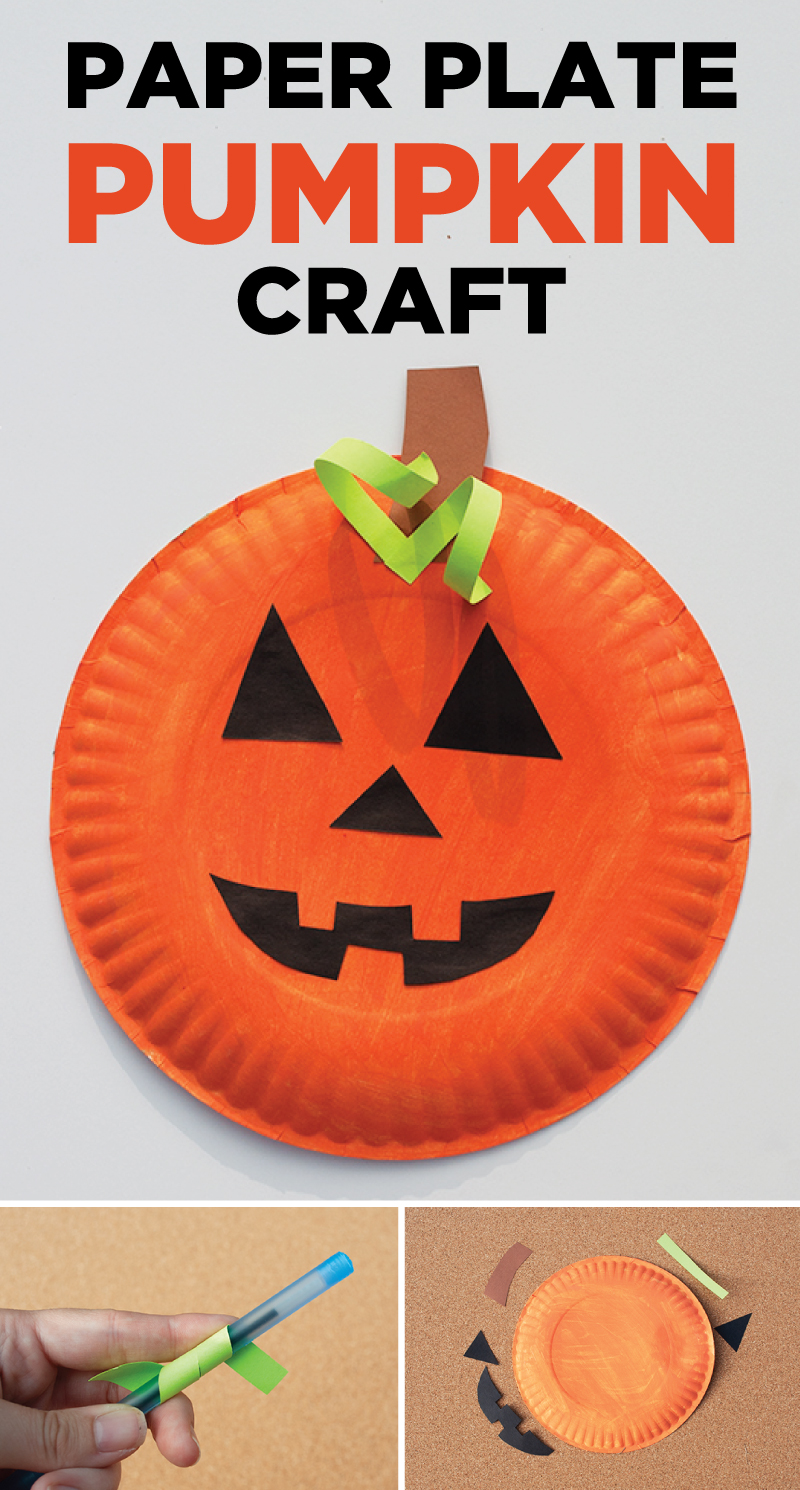
Paper Plate Pumpkin Craft | Halloween Paper Plate Crafts

Materials Needed:
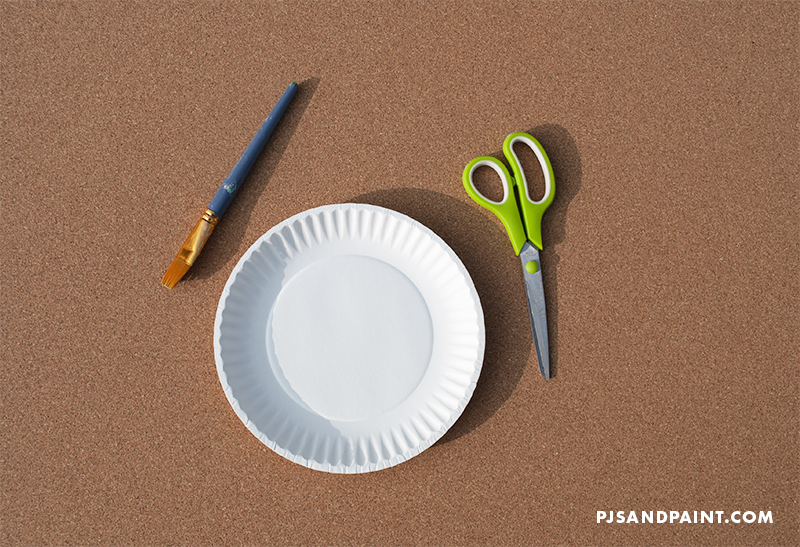
- Paper plate
- Orange paint
- Paintbrushes
- Scissors
- Glue
- Black construction paper
- Green construction paper
- Brown construction paper
- A pen or pencil
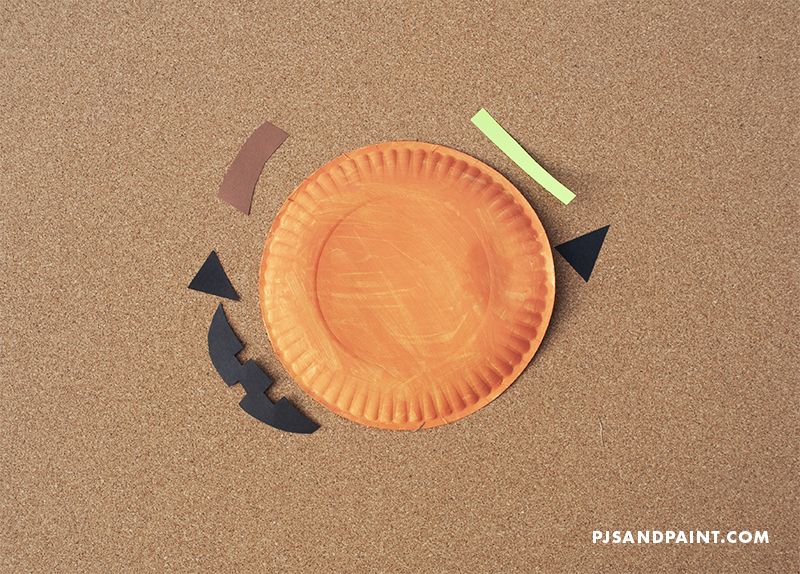
The first thing you'll want to do is paint your entire paper plate orange. I chose to flip the paper plate onto its backside to give the final pumpkin a bit more dimension.
Depending on the type of paint you are using, you may need to do a few layers of orange paint in order to cover the entire plate. If more than one coat is needed, be sure to wait until one layer is completely dry before moving onto the next.

While you are waiting for the orange paint to dry, you can begin cutting out the construction paper pieces.
You will need:
- Two large black triangles for the pumpkin's eyes
- One small black triangle for the pumpkin's nose
- One mouth (Feel free to get creative here! You can make a spooky, scary or happy looking pumpkin face)
- Two thin strips of green construction paper to create the curled leaves
- One brown stem
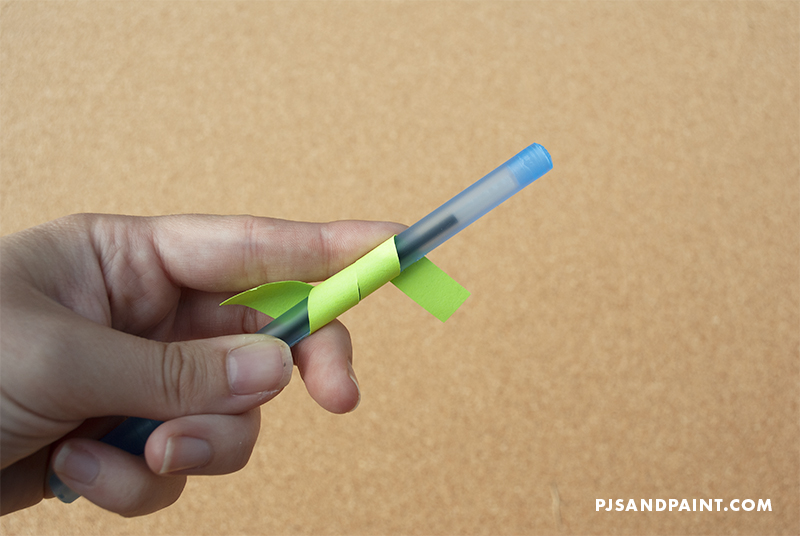
After all of the construction paper pieces have been cut out. You can curl your green pieces to create the spiral leaves on the pumpkins stem.
To do this, simply hold one end of the green strip tightly against a pen or pencil. Then, curl the remaining strip of paper around the pen. When you let you, your construction paper should now have a slight curl to it.
Alternatively, you could also curl the paper around one of your fingers. Repeat with the second strip of green paper.
The next step is to glue on the eyes, nose and mouth of the pumpkin. I used liquid Elmer's glue. However, a glue stick would also work great as well.
Glue the brown step to the top of the pumpkin and then add the two curled green leaves on top of the stem.
And that's all there is to it! You now have a silly or spooky pumpkin that is ready to be displayed all halloween season.
Here are a few ideas of where to hang your new pumpkin:
- On the refrigerator
- On a classroom door
- On a wall
- In the window of your home
- On your front door
- On your child's door
- Add a string to the top of the plate and hang it on a door knob
- On a bulletin board
- As decoration for a Hallloween party
- The possibilities are endless!

If you enjoyed this craft, you may also like to check out some of our other fun Halloween projects below:
Frankenstein Paper Plate Craft
Learn how to make this super cute Frankenstein paper plate craft. Using minimal supplies, you can create a fun Halloween craft the kids will love!
Pumpkin Apple Stamping
This is a great Halloween craft for toddlers and younger children. All you need to do is grab an apple, cut it in half and start stamping!
Free Printable Bat Template and DIY Halloween Decor Ideas
With this free printable bat template, you can have a ton of fun creating your very own DIY decorations. Whether you will be throwing a party or simply want to decorate your home for the season, the possibilities of what you can create with these templates are endless!
DIY Bug Soap
This creepy craft idea is a great way to scare someone this Halloween season. It is quick and easy to put together and will be sure to freak out our family, friends or party guests.
Toilet Paper Roll Bat Craft
This spooky toilet paper roll bat is a great easy craft that you can do with children of all ages. Once you have made a bunch of bats, display them all around your house or classroom for a fun seasonal decoration.