Today, I am excited to share this free printable Christmas light template. Whether you would like to use it as a coloring page or create a wide variety of crafts, this template will be a great addition to your holiday projects this upcoming winter.

Disclaimer: As an Amazon Influencer, I earn from qualifying purchases. This means that at no additional cost to you, I may earn a small commission if you decide to make a purchase. For more information, please feel free to read the affiliate disclosure on our privacy policy page.
How to create festive DIY Christmas light door decor:
If you are looking for a simple and fun way to decorate your front door (or classroom door, bedroom door, office door or any other location you wish!) then look no further!
Supplies needed:
- Construction paper in various colors
- 1 piece of cardstock
- String, pipe cleaners or thin tape
- Glue
- Masking tape
- Pen or pencil
- Scissors
The first thing you’ll want to do is print out the Christmas light template. Depending on your vision for the door, you may want to use the large or small template. For my example you see above, I used the large template.
I would definitely recommend printing out the template onto white cardstock. Cardstock is a lot more durable than standard printer paper and will hold up a bit better if you are tracing the pattern multiple times.
Once the template has been printed, cut the pattern out and begin tracing onto the various pieces of construction paper.
NOTE: After I have traced all of the light bulbs, I then cut the top piece of the bulb off and then trace that onto a black piece of construction paper. I then glued that top piece onto the tops of the bulbs.
Next you can create the “string” using black tape, actual string, or in my case I actually used black pipe cleaner. I wanted to give the door a bit more texture and I think it worked out really well.
With tape, you can just create lines on the door and then use rolled up masking tape to adhere the lightbulbs onto it. With the pipe cleaners, I taped them into the layout I wanted and then attached the light bulbs over the tape to hide it.
Another option would be to cover the entire door in paper. This would be great for a classroom door! You could then use a marker or paint to create the string, and then tape or glue the light bulbs on top. The possibilities are really endless!
Once you are done, step back and admire your newly decorated door! I’m sure that it will bring a smile to the face of anyone that walks by.
Large Christmas Light Template
The large Christmas light template is designed to print onto a standard 8.5×11 inch piece of paper or cardstock. Once printed and cut out, the light bulb will measure 8 inches tall.

Small Christmas Light Template
The large Christmas light template is designed to print onto a standard 8.5×11 inch piece of paper or cardstock. Once printed and cut out, each light bulb will measure 4 inches tall. 4 light bulbs will print per page.

Other fun ways to use the Christmas light templates:
- You can use the Christmas light templates as coloring pages.
If you are hosting a Christmas party this upcoming year, you could have a stack of blank Christmas light pages on a table along with crayons, markers and colored pencils. This would be make a great coloring station that kids can come and design their very own Christmas lights. You could also add even more creativity by including pom poms, glitter, stickers and any other craft supply you have laying around.
If you enjoyed this post, you may also like to check out some of out other fun Christmas craft ideas:
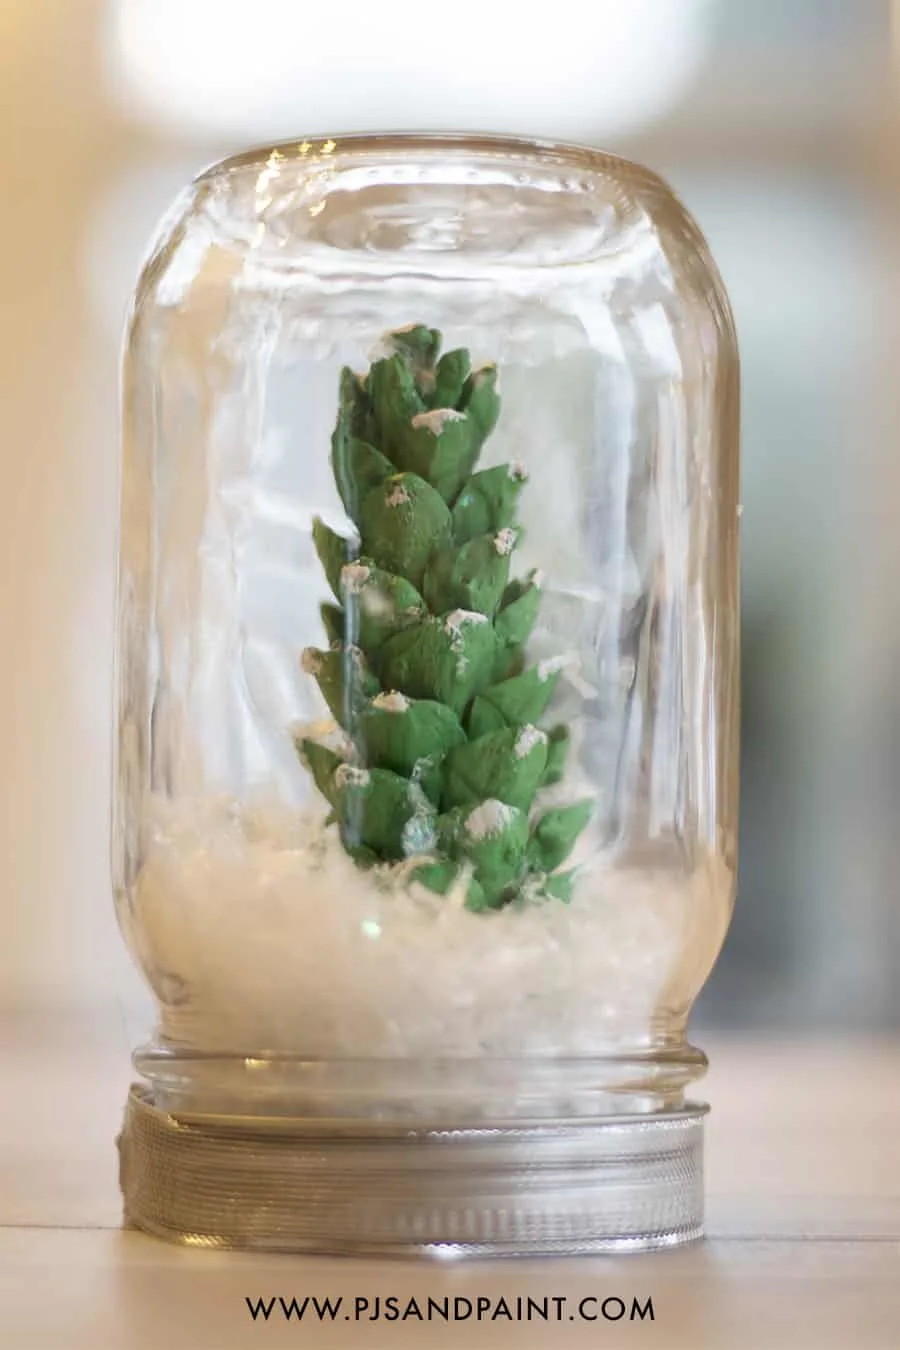
- How to make a mason jar snow globe
In this easy tutorial, you will learn how to create this simple DIY mason jar snow globe using a pinecone to make a snow covered tree.
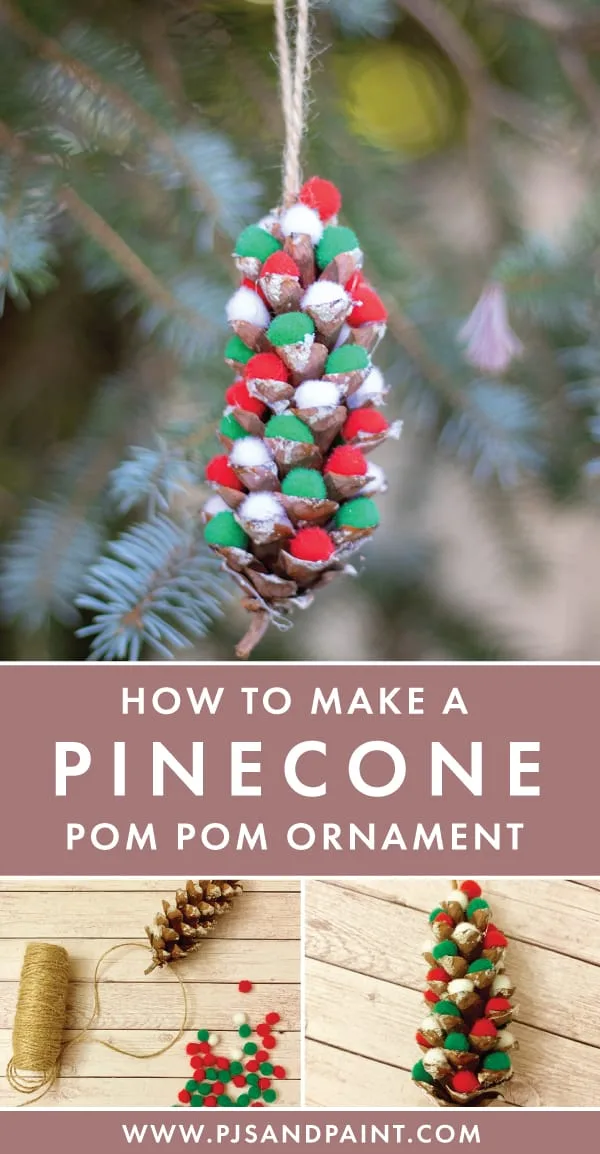
- How to make a pom pom pinecone ornament
Learn how to make this super cute pom pom pinecone ornament. I think this would look so great hanging on your Christmas tree inside, or even an outdoor tree for some fun festive holiday decor.
- How to make a mason jar snowman
In this tutorial, you will learn how to make this adorable little mason jar snowman. It would be great to display as a decoration in your home, or fill with candy or small treats and give as a gift!
Favorite Printable Supplies:
These are a few of my favorite supplies that I use for printable games and activities:
- White Cardstock: For most projects, I recommend printing onto cardstock. It is much more durable than standard printer paper and often produces a higher quality print.
- Crayons: A staple in any crafting household. Crayola is always the top notch choice!
- Kid Friendly Safety Scissors: These are perfect for little kids learning how to use scissors. They cut paper but not fingers or hair!
- Glue Sticks: These disappearing purple glue sticks are by far my favorite! I love buying them in bulk since we use them so often!
- Lamination Machine: Laminating printables are a great way to make them last longer. If you are planning on laminating to make games reusable, be sure to get a bunch of dry erase markers as well.
- Dry Erase Pockets: Dry erase pockets are a great alternative to using a lamination machine when wanting to make printable games and activities reusable.
- Printer: A high quality printer is always recommended for the best results. If you are in need of a printer this Brother Wireless Printer is a great choice.
By entering your email address you will be receiving the free digital file as well as subscribing to our weekly email newsletter. You may unsubscribe at any time.


Rachel
Tuesday 6th of December 2022
Cant wait to use these in the classroom
Amanda
Tuesday 15th of December 2020
Thank you for sharing this easy and fun activity!