How to Make a Paper Vampire Puppet | Easy Halloween Crafts for Kids
This paper Vampire puppet is easy to make and super fun to play with. Perfect for encouraging imaginative play, this puppet can open and close it’s mouth!

Disclaimer: This post may contain Amazon affiliate links. This means that at no additional cost to you, I may earn a small commission if you decide to make a purchase. For more information, please feel free to read the affiliate disclosure on our privacy policy page.
When I think Halloween, I think Jack-O-Lanterns, Frankenstein, bats and of course vampires. This paper vampire craft is a great activity for kids that encourages creativity and imaginative play.
With just a few simple supplies that you probably already have at home, you can make this spooky Halloween craft.
Materials needed to make one paper vampire puppet:
- Purple construction paper
- Black construction paper
- White construction paper
- Pink construction paper
- Red Construction paper
- Scissors
- Glue
- Black marker
You can either follow the step by step written tutorial below, or watch this video for a visual guide.
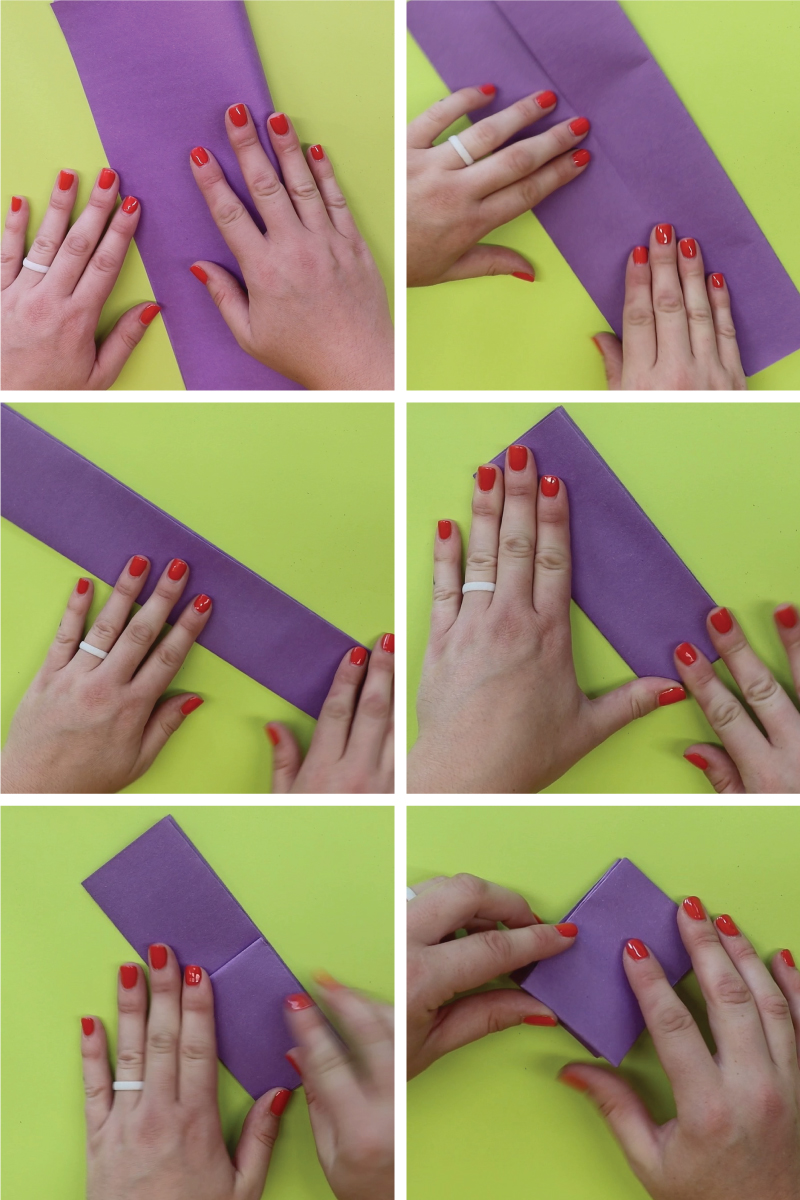
Step 1: Fold the purple paper in half and unfold.
For my example below, I used a 9x12 inch piece of purple construction paper. The first step is to fold the paper in half and then unfold.
Step 2: Fold the edges to the center.
Take the bottom edge of the paper and fold it up to meet the center crease. Then, repeat with the top edge, also folding it to the center.
Step 3: Fold in half longways.
Next, take the bottom edge of the paper and fold up to meet the top edge.
Step 4: Fold the paper in half again.
Fold the strip of paper in half.
Step 5: Fold the edges.
The next step is to take the top flap of the paper and fold to meet the edge. Flip the puppet over and repeat by folding the top flap to the edge again. Now, you should have formed the base of the puppet.
To make sure that you folded the puppet correctly, try placing your fingers into the top and bottom flaps. If you move your hand, the mouth should open and close.
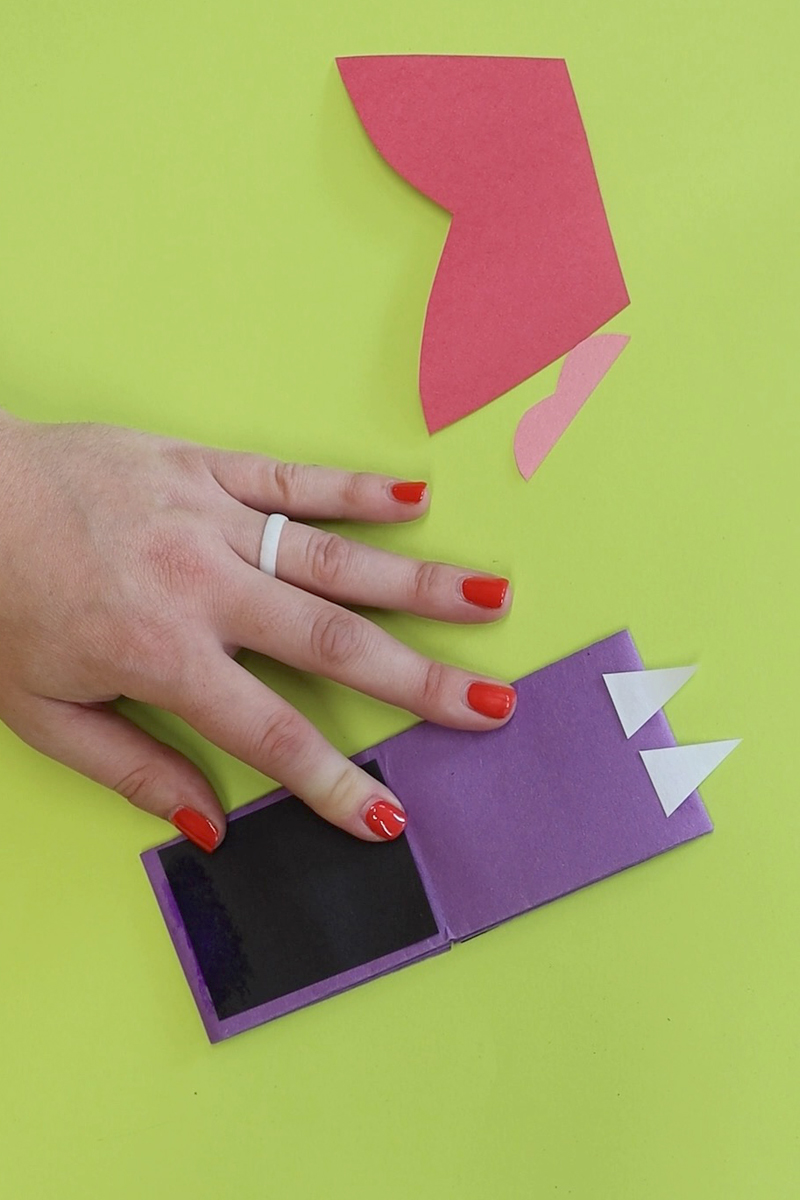
Step 6: Decorate the vampire.
Using black construction paper, cut out the vampire’s hair, eyebrows and inside of his mouth. Using white construction paper cut out his eyes and two fangs. Use red construction paper to create the vampire’s cape and finally use the pink construction paper to form his tongue.
Glue the hair, eyes and eyebrows to the front of the puppet. Use a black marker to draw the inside of the eyes and nose.

Attach the cape to the backside of the front flap.
Open up the puppet and glue the mouth and tongue shapes into the inside section. Finally, add the two fangs.
Now, put your hands inside the top and bottom flaps and then have your vampire puppet open and close it’s mouth! How cool!