Free Printable DIY Photo Ornaments for Kids
These free printable DIY Photo ornaments are perfect for kids to create this holiday season. All you need is one of the templates, some crayons, a photo and a piece of ribbon. These ornaments make a great craft to work on during a holiday party or as a last minute gift for grandparents.

Disclaimer: As an Amazon Influencer, I earn from qualifying purchases. This means that at no additional cost to you, I may earn a small commission if you decide to make a purchase. I also make a commission from clicks via my affiliate links from other companies I partner with as well. However, all opinions are my own. For more information, please feel free to read the affiliate disclosure on our privacy policy page.
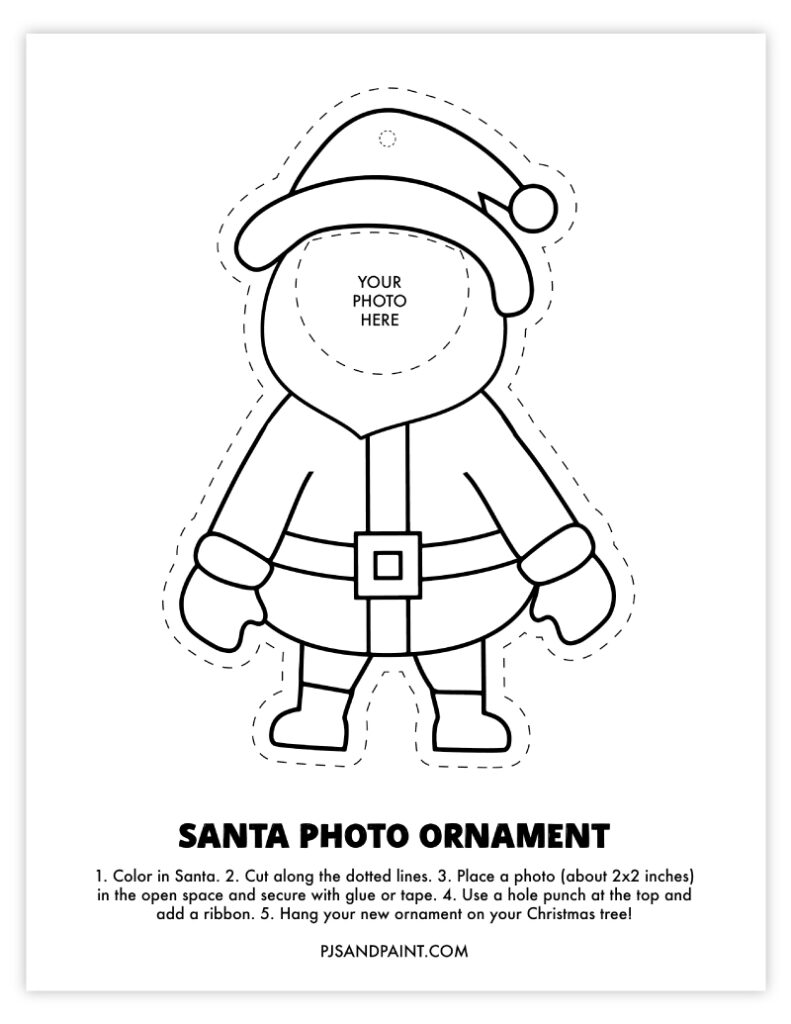
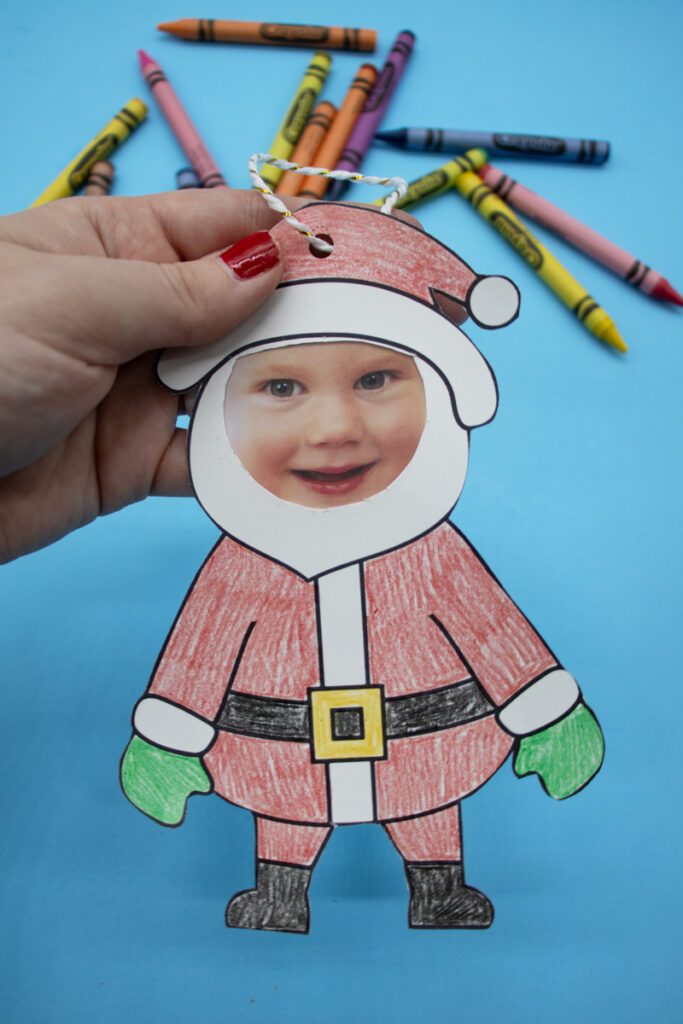
My favorite ornaments are the ones made by my children. This set of ornaments features a snowman, a gingerbread man and Santa that your kids can color in and add their picture to. It is fun to make and looks adorable hanging on your Christmas tree.
Supplies needed:
- Free printable template (the download link is located at the bottom of this post).
- White cardstock
- Crayons, markers or colored pencils
- Glue or Tape
- Photo of your child (or yourself, a family member, friends or even pets!)
- Scissors
- Hole punch
- Ribbon


How to make the photo ornaments.
Step 1: Print out the templates.
First, print out one or more of the templates onto white cardstock. It is very important to use cardstock as it is heavier than standard printer paper. These templates are designed to fit onto an 8.5x11 inch piece of cardstock.
Step 2: Color in the template.
Using crayons, markers or colored pencils, begin coloring in the ornament. Encourage your kids to be as creative as they would like!
Step 3: Cut around the outer edge of the ornament.
Using scissors, cut along the outer edges of the ornament. If your kids are able to safely use scissors, this would be a great time for them to practice their scissor skills. If they are younger, you can help them with this step.
Step 4: Cut out the face area.
Next, cut out the area where your photo will go. On the snowman and gingerbread man templates it is a simple circle. On the Santa template, the shape is more of a squished circle.
Step 5: Add your photo.
Now for the fun part! Add your desired photo to the open area and attach to the back with glue or tape. The size of the open area is approximately 2x2 inches.
Step 6: Attach a ribbon.
Finally, use a hole punch to punch a hole at the top of the ornament. Thread a ribbon or piece of string through the top and tie a knot or a bow. You can now hang your newly created ornament on your Christmas Tree or use is as a decoration anywhere throughout your house!
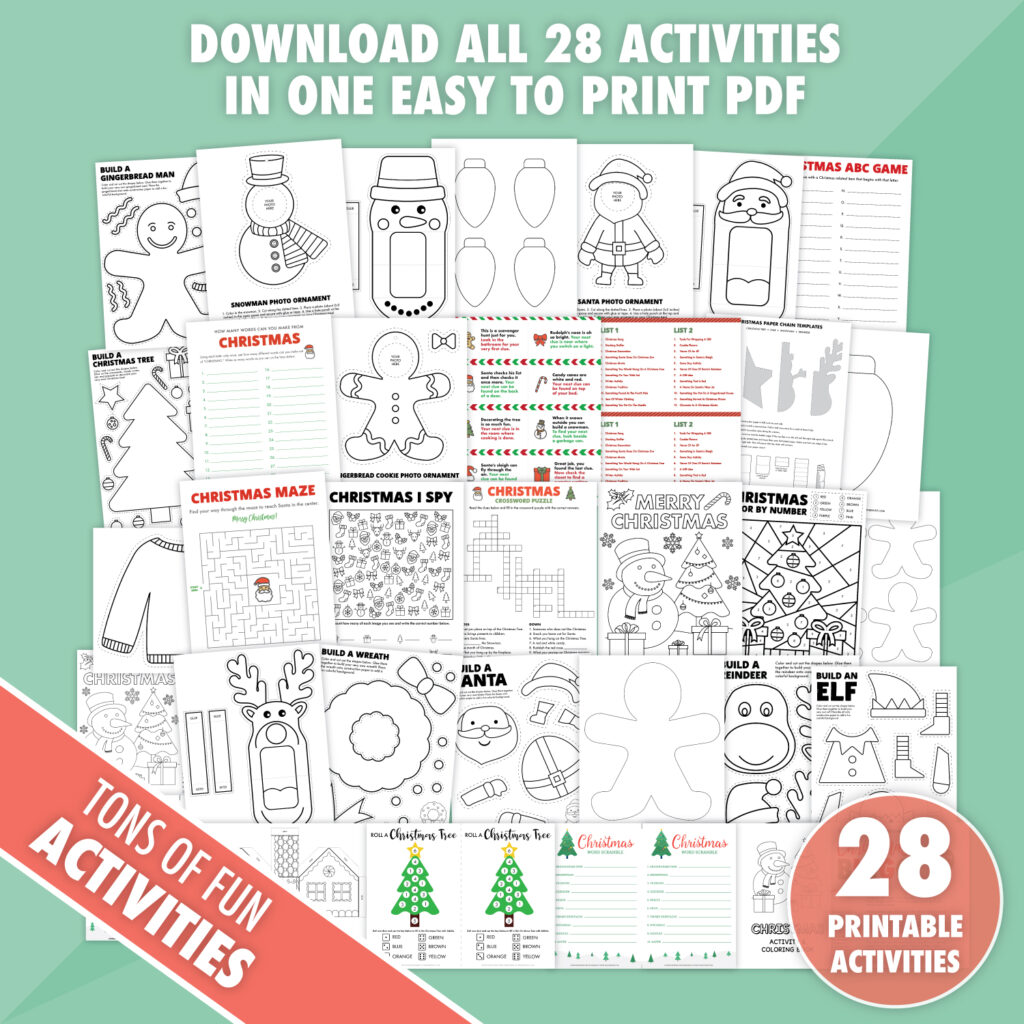
Free Printable DIY Photo Ornaments for Kids
These ornament templates were designed to be printed out onto an 8.5x11 inch piece of white cardstock.
Please feel free to download and print as many copies of the templates as you would like. However, please do not edit or redistribute the files in any way. These ornaments were created for personal use or classroom use only.
More Christmas Printables:
- Free Printable Build a Santa Craft
- Free Printable Build an Elf Craft
- Free Printable Build a Christmas Tree Craft
- Free Printable Build a Reindeer Craft
- Free Printable Christmas I Spy Game

By entering your email address you are opting into our email list. Feel free to unsubscribe at any time.